
One of the things I’ve come to love about raising my children in Germany is discovering traditions I didn’t grow up with. Before living here, I had never heard of a Schultüte; then, I had kids, and one of them became a Schulkind (School kid). Now it’s become one of the biggest parts of our back-to-school preparation.
But if you’re also wondering what on earth a Schultüte is, let me give you a brief explanation. A Schultüte, sometimes called a school cone, is a large decorated cone that children in Germany receive when they start school. Usually, parents fill it with a mixture of school supplies, books, small gifts, treats and a few sweets, which is so thoughtful, by the way. The idea is to make the first day of school feel exciting, and a little less intimidating. It is such a lovely tradition that I’ve adopted for life.
My daughter asked for a mermaid-themed Schultüte, so that was the direction I went with. But I didn’t make the cone itself from scratch; I ordered a plain ready-made Schultüte cone from Amazon and focused on decorating it instead. That was the easiest option for me, especially when I’m already wrangling three kids with a long back-to-school list to tackle; God knows I wasn’t looking for one more complicated project taking over our dining table. You absolutely can make the cone completely from scratch using cardboard, though. I’ll link a helpful tutorial from another craft creator here just in case you want to try that version: How to Make a Schultüte From Scratch.
But for this post, I’m showing you exactly how I decorated a ready-made cone and turned it into a personalised mermaid Schultüte for my daughter.
Disclosure: As an Amazon Associate, I earn from qualifying purchases. This means that if you click on a link and make a purchase, I may earn a small commission at no additional cost to you. Thank you for supporting 3craftmama!
The easiest way to make a Schultüte
Before we get into all the mermaid details, I just want to say this clearly: decorating a Schultüte really doesn’t have to be complicated. I say so because the simplest version is to buy a ready-made cone and just decorate it with whatever your child likes. Your options are to cover it with stickers, cut simple shapes from coloured paper and glue them on, add your child’s name in foam letters, use character pictures or printed images or add pom-poms, ribbons, stars or paper shapes.
You buy the cone, choose a theme or colour combination, and decorate it in a way that appeals to your child. It really does not have to look like something from a professional craft studio. For me, I chose to do a little more because my daughter specifically asked for a mermaid Schultüte, and once she said “mermaid,” my brain immediately went to glittery scales and a giant tail.
Materials I used for my mermaid Schultüte
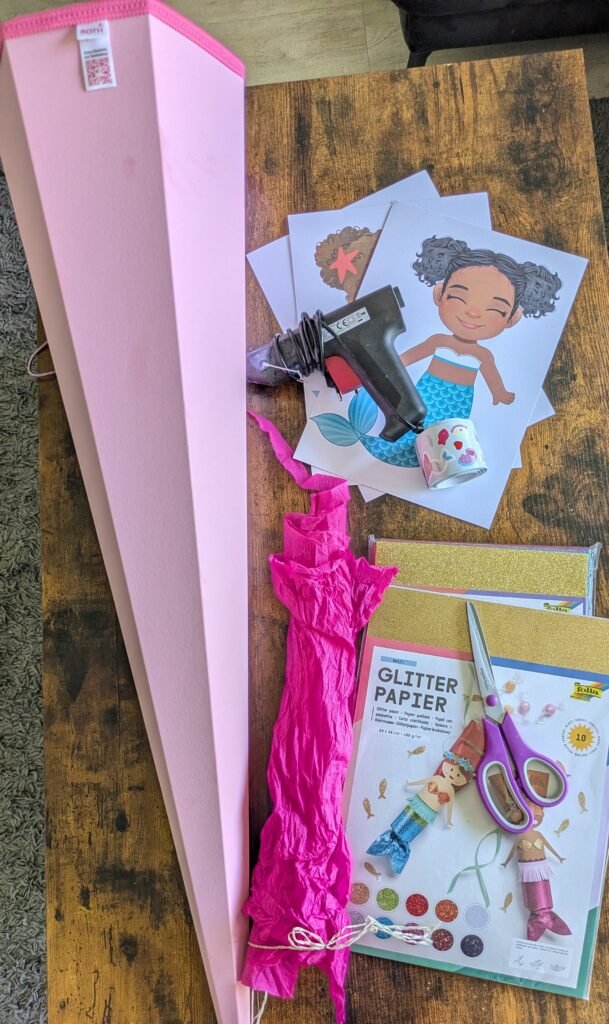
So I ordered the plain Schultüte cone from Amazon, and most of the decorating materials came from TEDi because that was where I found the colours and glitter sheets I wanted. However, I’ll also link similar products from Amazon if you prefer ordering everything online.
Here’s what I used:
- A plain ready-made Schultüte cone
- Pink crepe paper
- Glitter foam in pink, turquoise and silver
- A printed mermaid image
- Small ocean & mermaid stickers
- A pencil
- Scissors
- Craft glue
- A hot glue gun
- Glue sticks
Step 1: Prepare the paper for the top of the Schultüte
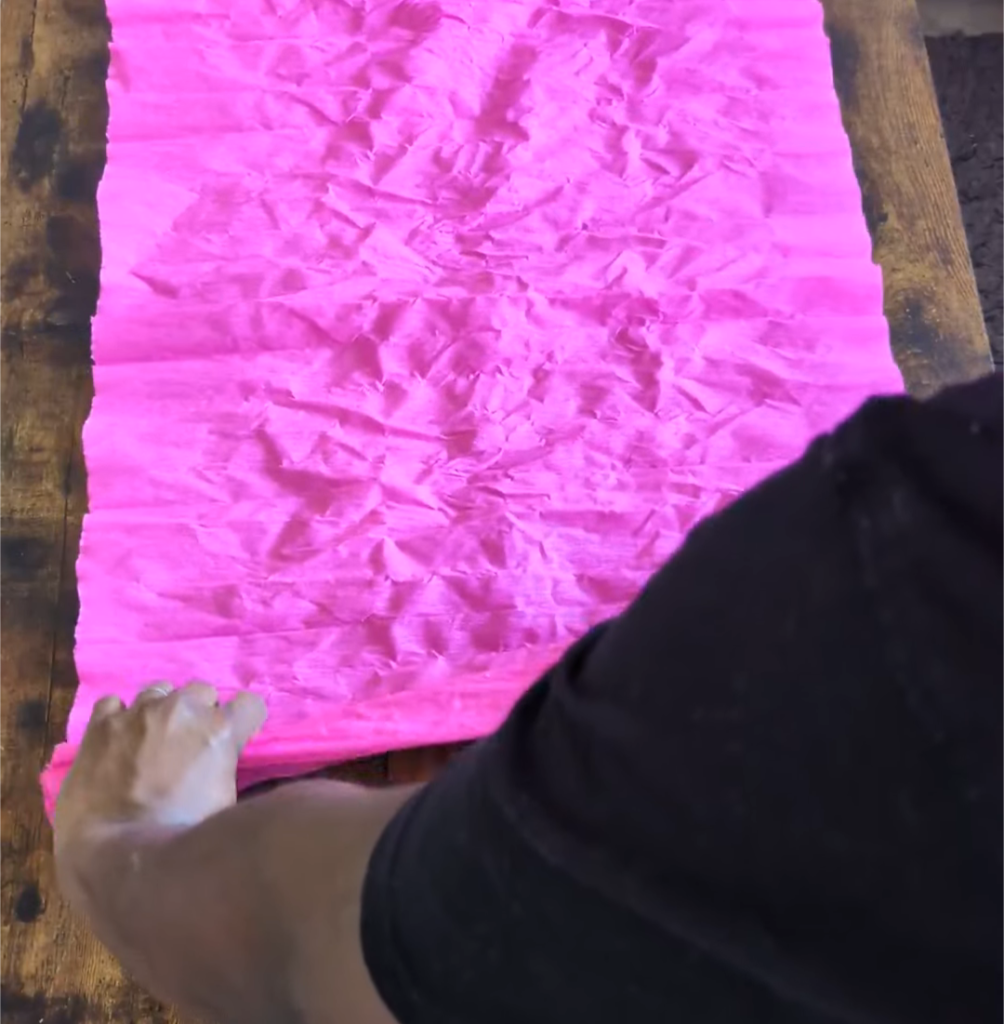
I started with the bright pink paper that would eventually close the top of the cone. I used crepe paper because it is light and easy to gather. I cut enough width to fit around the top of the cone and folded it back and forth so that it would have an extra wrinkled look. Let me also add that you can use tissue paper, fabric or tulle if that is what you already have.
Step 2: Draw the mermaid tail
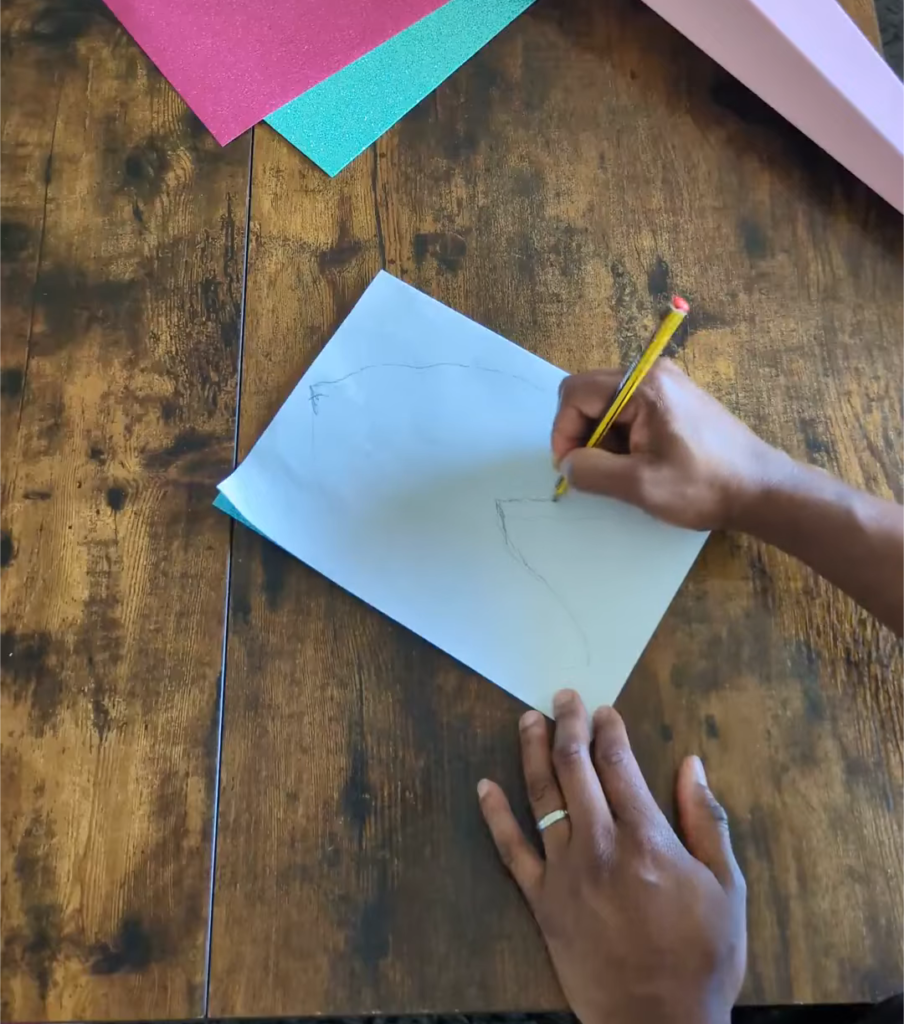
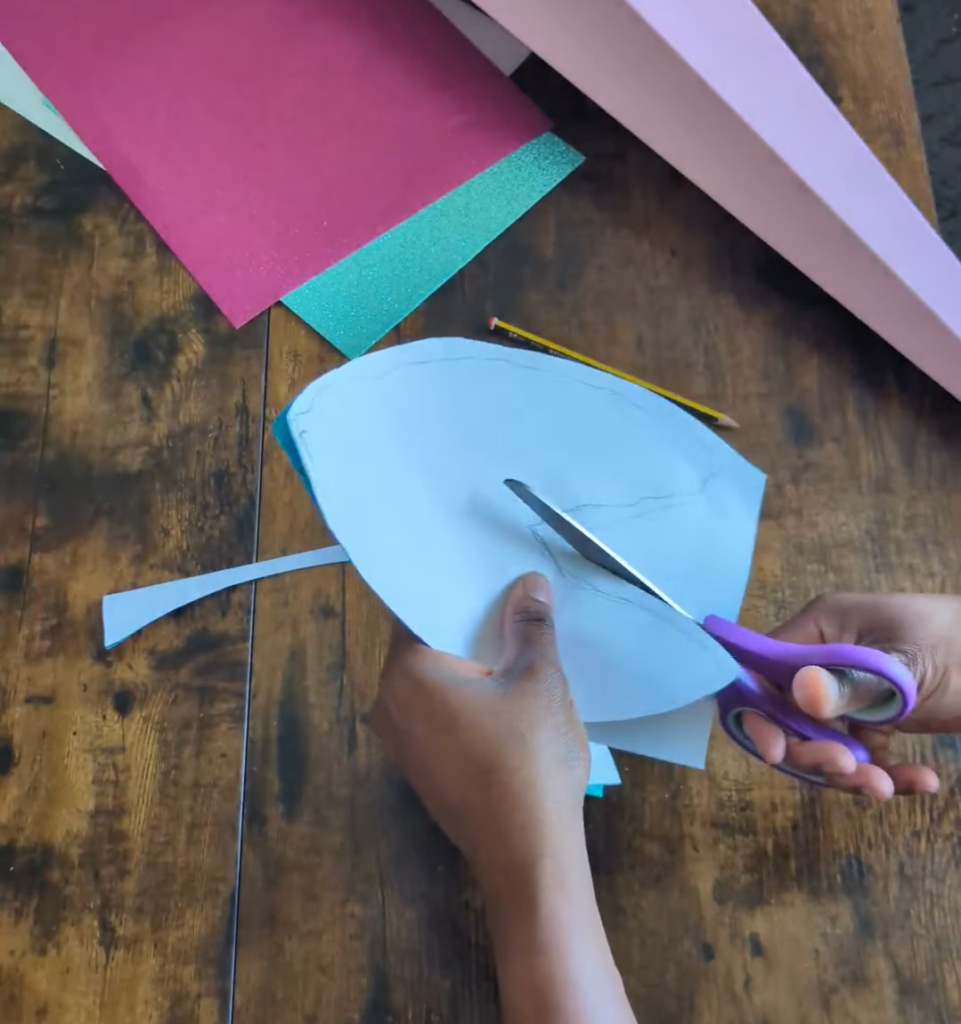
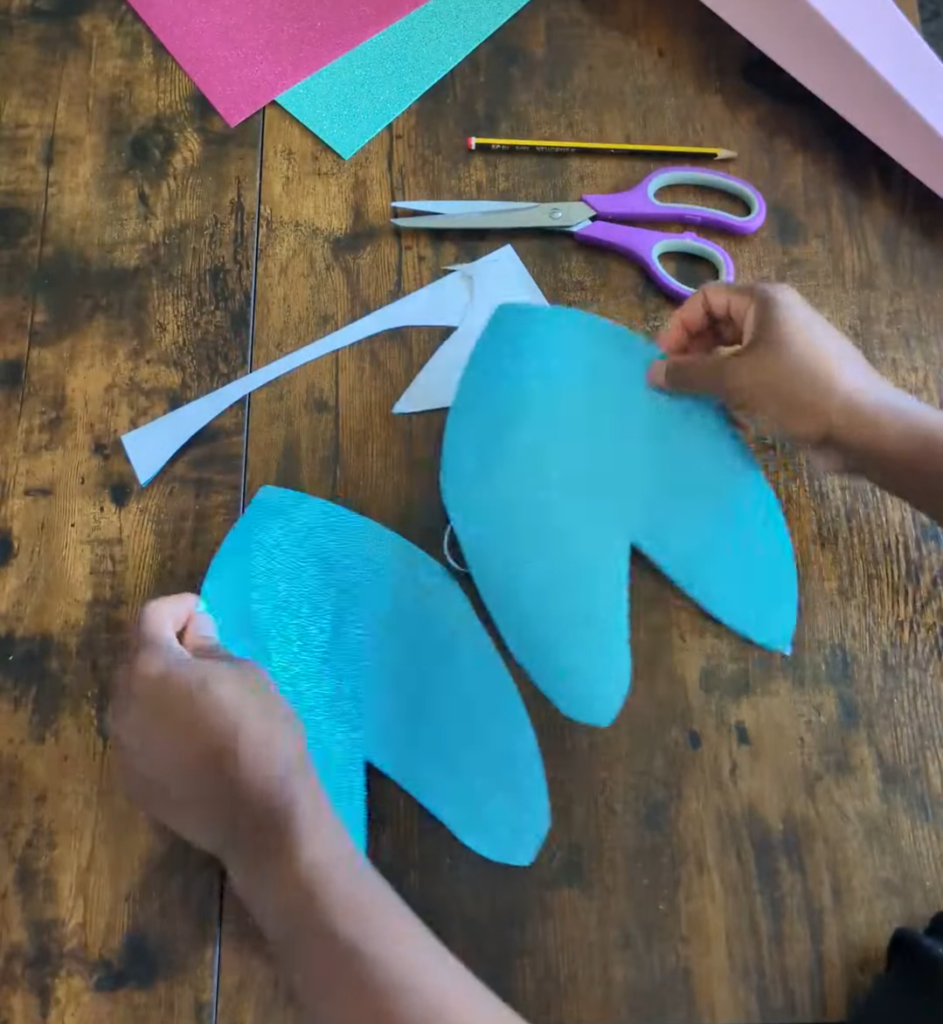
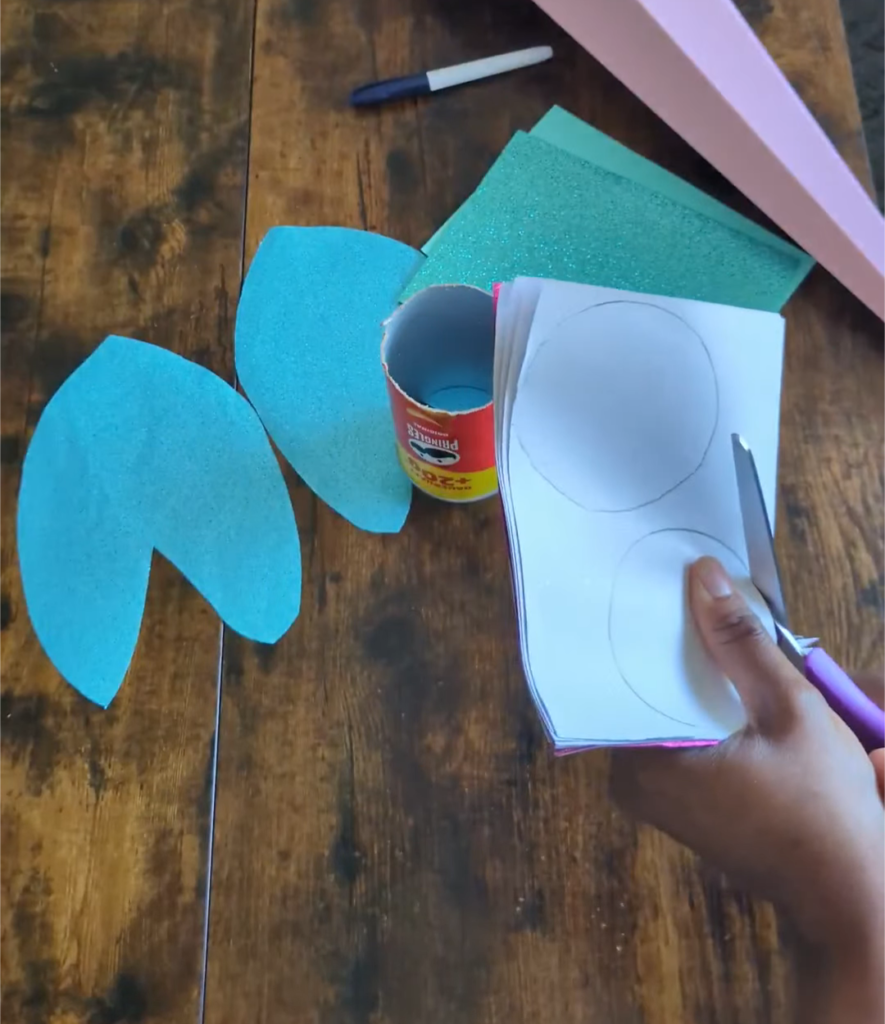
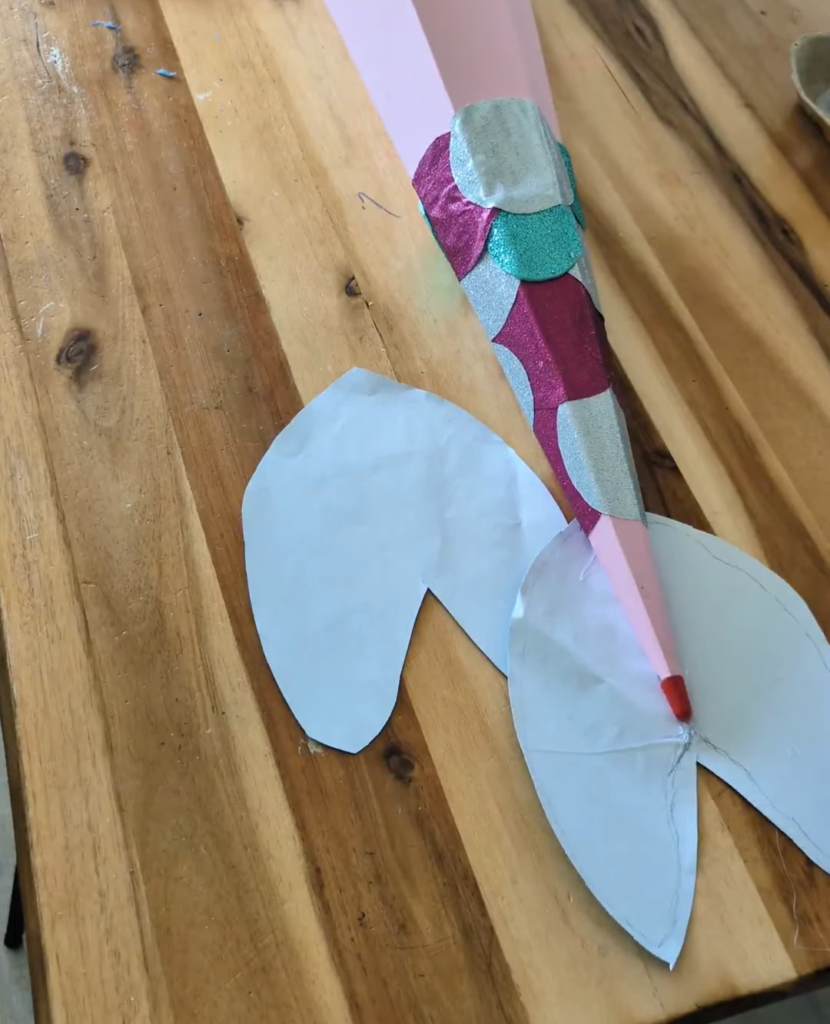
Next, I worked on the tail. I first drew a simple mermaid fin shape behind the glitter foam sheet. Don’t worry about being able to draw for this; I just drew a wide curved shape with two fin sections at the bottom. So, if drawing is not your thing, you can print a free mermaid tail template and use that instead. As soon as I was happy with my drawing, I cut out the tail.
Step 3: Make the mermaid scales
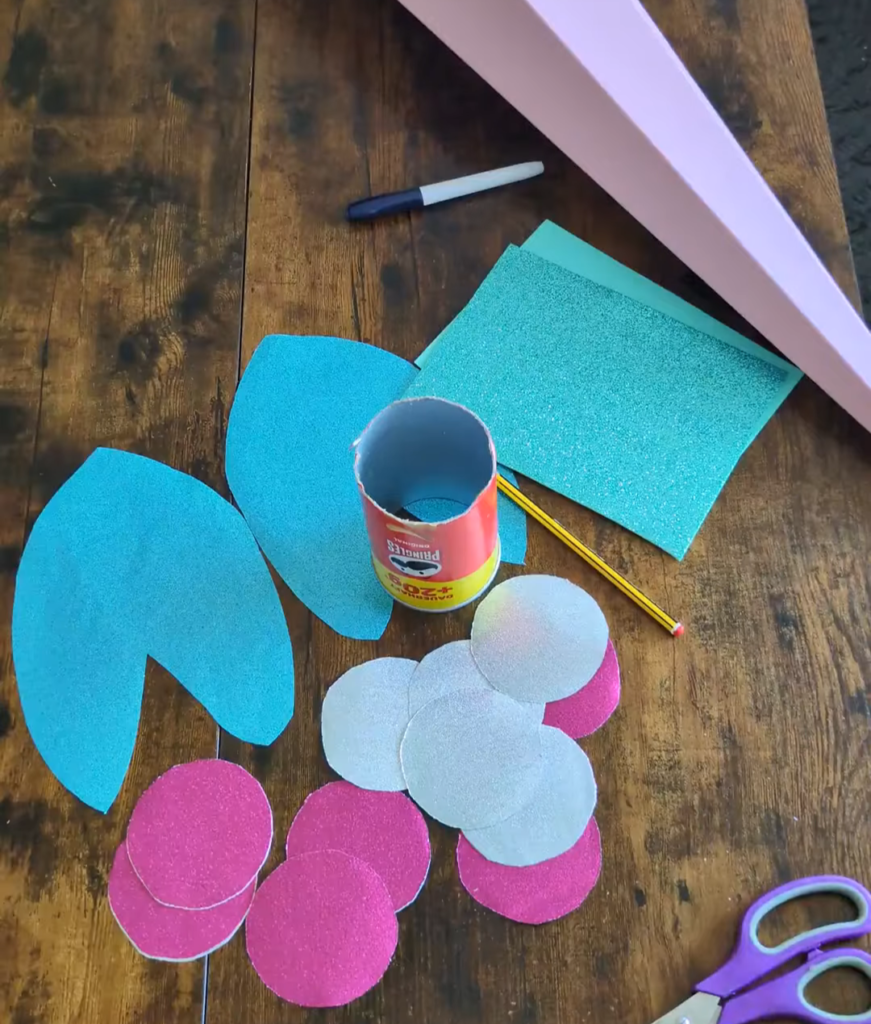
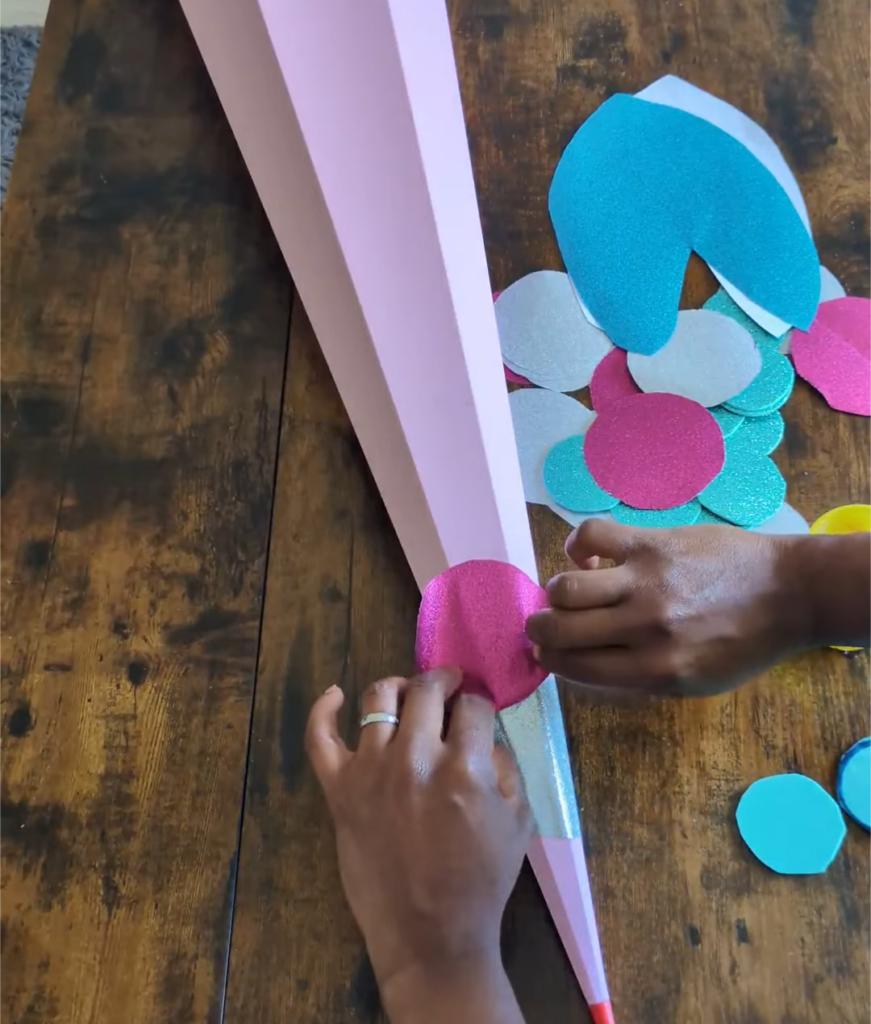
For this step, I used a round container as a guide and traced circles onto my glitter sheets, then made circles in pink, silver and turquoise. Then I cut them all out. They were not all the same size; some even had crooked edges, but I didn’t mind, and that was completely fine. But I knew that once they overlapped on the cone, the small differences would be hardly noticeable.
But let me give you some time-saving tips in case you’re not up for the whole drawing and cutting exercise:
- If you don’t want to spend time cutting, buy pre-cut foam circles or large circle stickers
- If you want a proper diy then get paper punches to help you cut out fine-edged circles – you’d be done in a few minutes.
- You could also purchase scalloped paper strips or mermaid-scale stickers if you want to avoid the whole process at once, but still achieve the scaly effect.
Another idea you could run with is to skip the scales completely and use one large sheet of glitter paper around the bottom section instead.
Step 4: Attach the crepe paper to the top
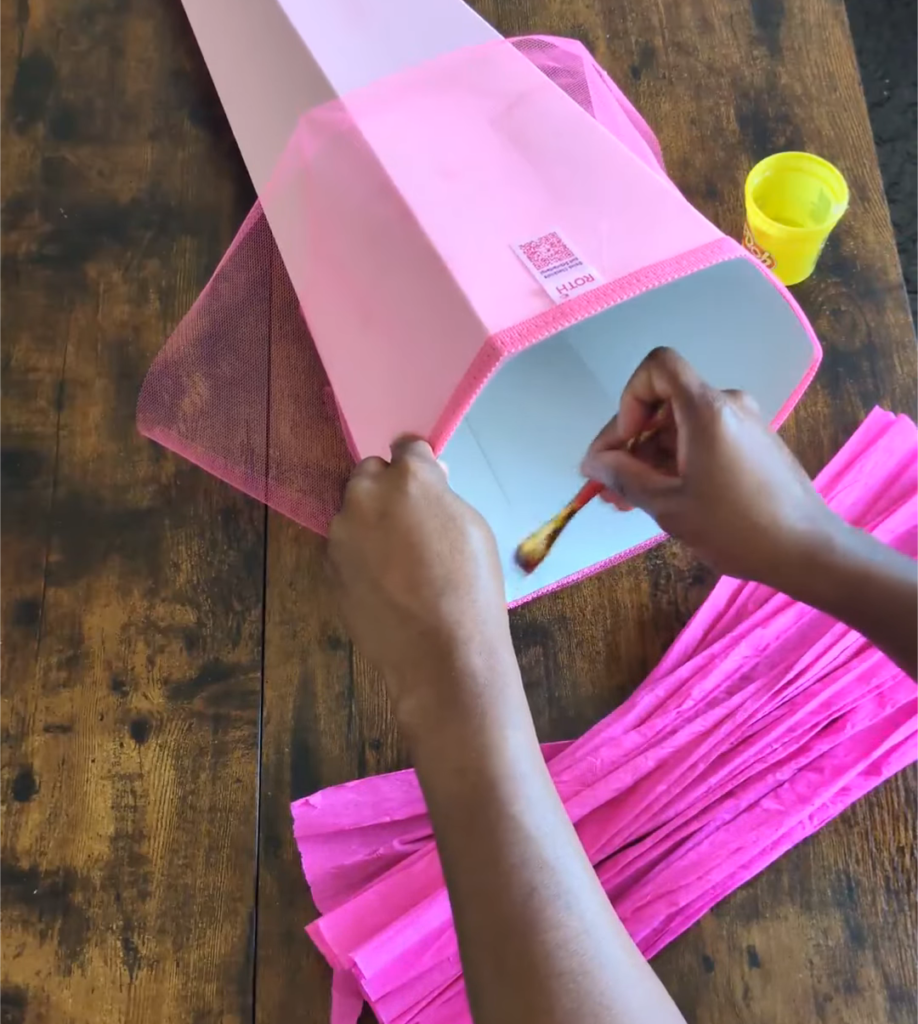
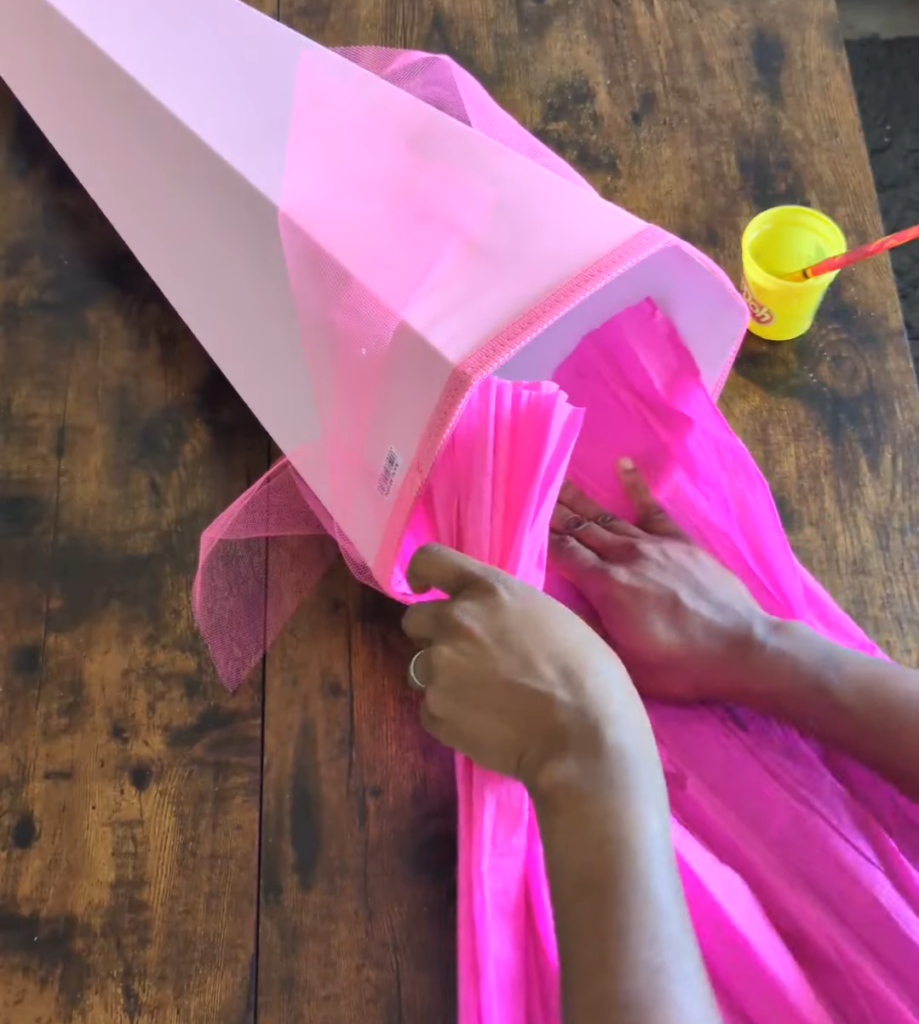
Next, I attached the pink crepe paper around the inside of the cone opening. I added glue around the inside edge and pressed the paper into place a little at a time. The aim was to leave plenty of paper extending above the cone so that once the Schultüte was filled, I could gather and tie it closed.
Step 5: Start glueing the mermaid scales
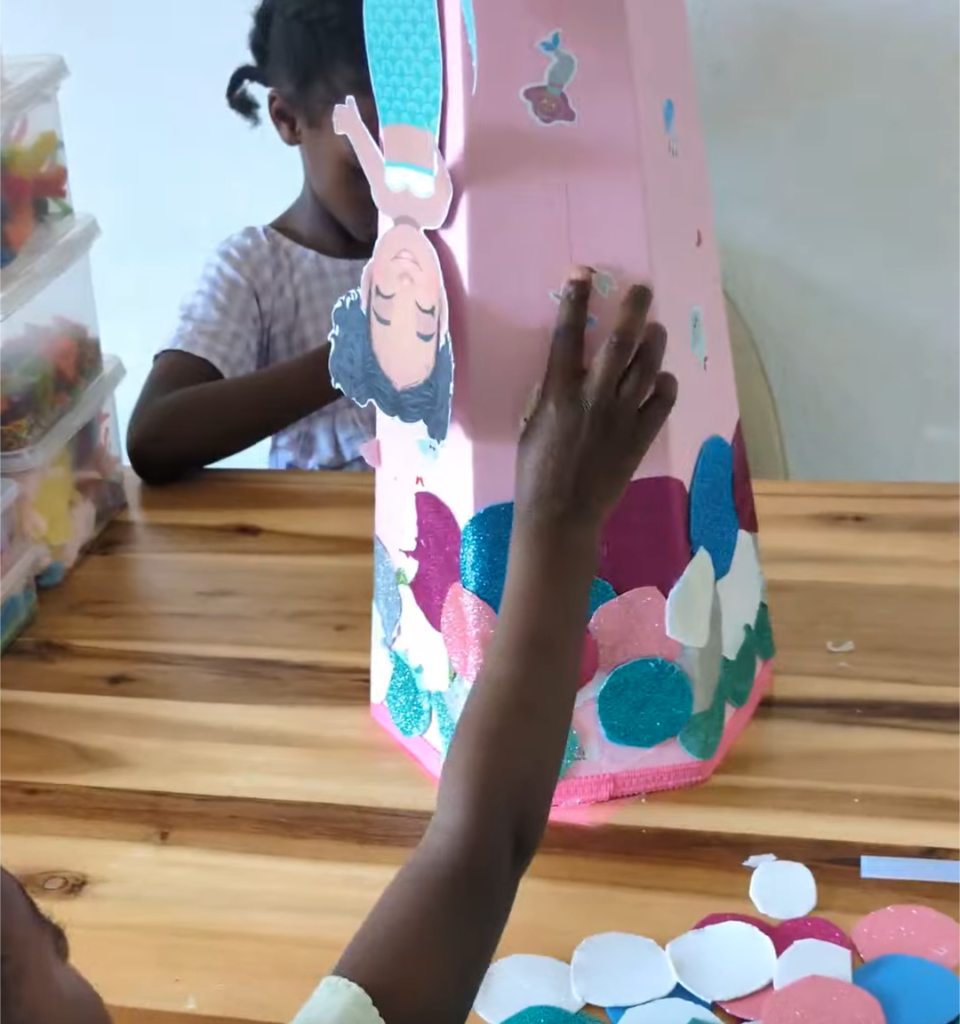
Once the top was secure, I moved on to the body of the cone. I started near the bottom and glued the glitter circles onto the cone in overlapping rows. I alternated the pink, turquoise and silver circles rather than following a strict pattern. This made the scales look colourful without requiring too much planning. I overlapped each new row slightly over the previous row so the circles looked like fish scales. Now, you do not need to cover the entire Schultüte with scales; I only used them mainly around the lower section and in a few areas near the top. That kept the project manageable and left enough plain pink space for the mermaid character, stickers and my daughter’s name. But then again, the choice and energy are all yours.
Step 6: Attach the mermaid tail
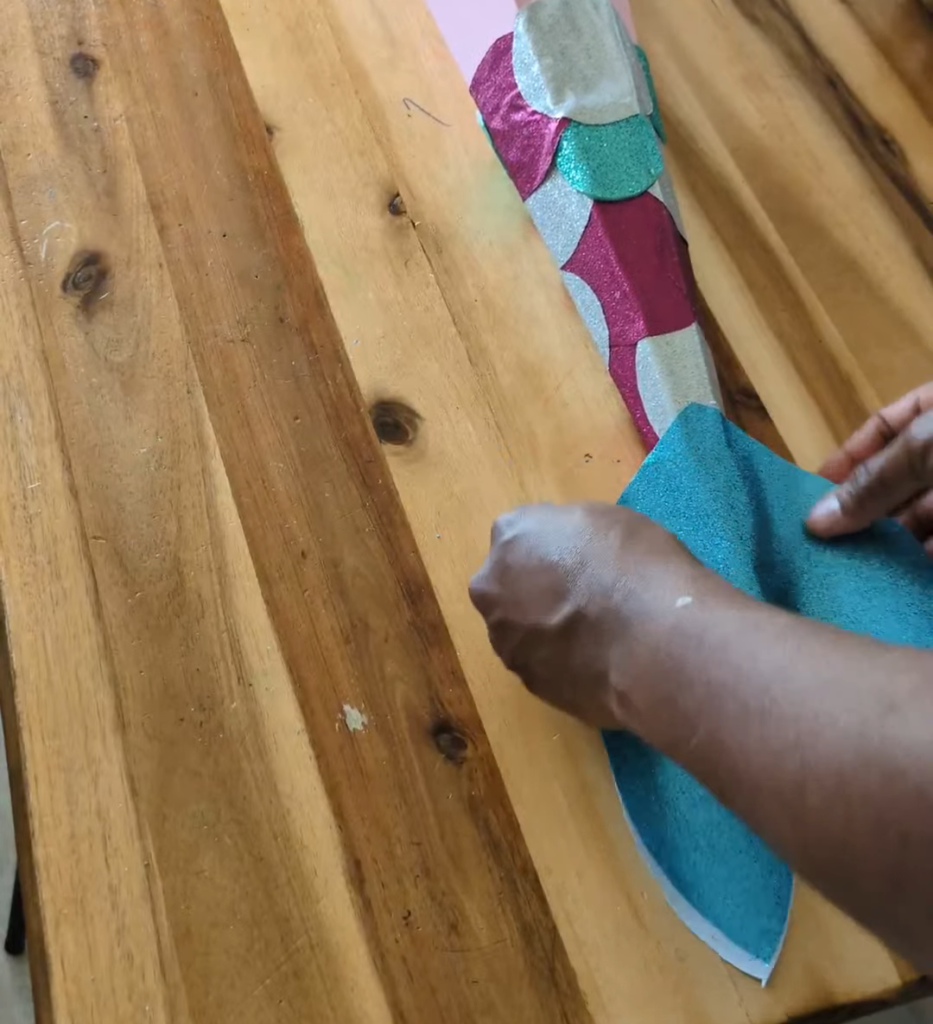
Once I had added enough scales to my satisfaction, I attached the turquoise tail pieces to the pointed end of the cone. I positioned one piece on the front and one on the back, with the point of the cone sitting between them. Then I glued the pieces securely together. Because the tail is at the bottom and may brush against the floor, it is worth using strong glue or a hot glue gun for this part. The tail instantly made it look like a proper mermaid Schultüte. Goal Achieved!
Step 7: Add the mermaid character
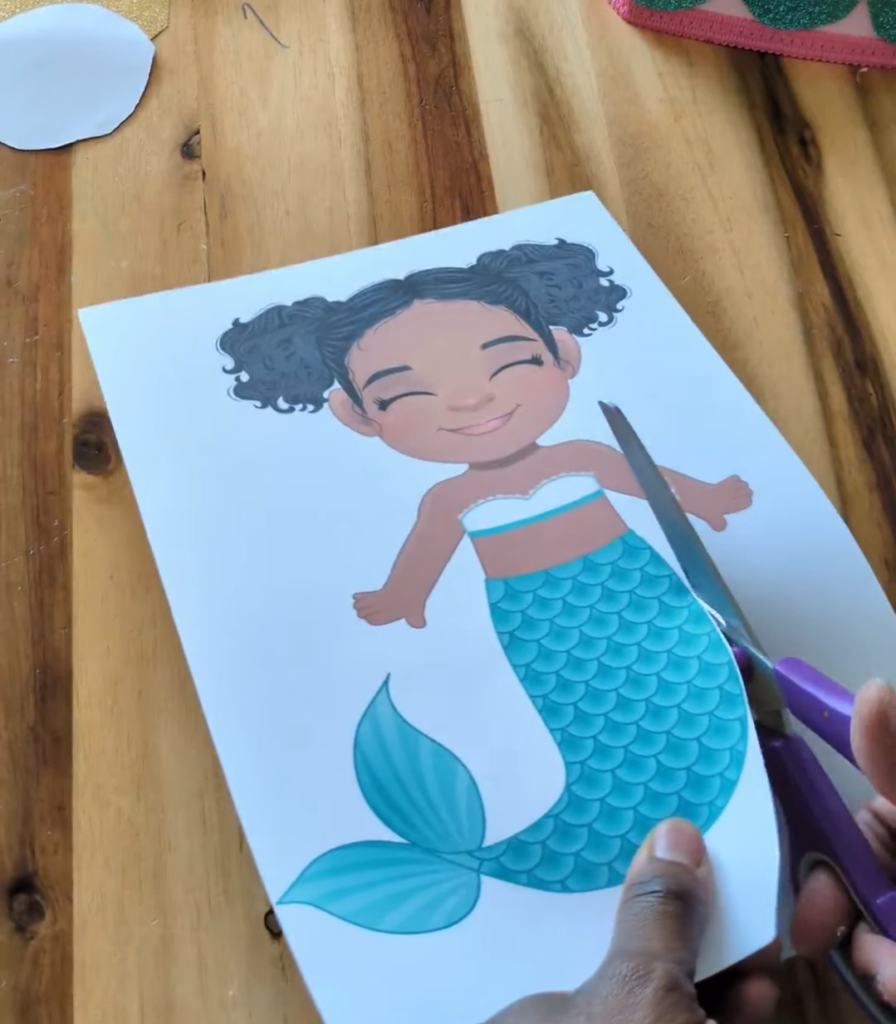
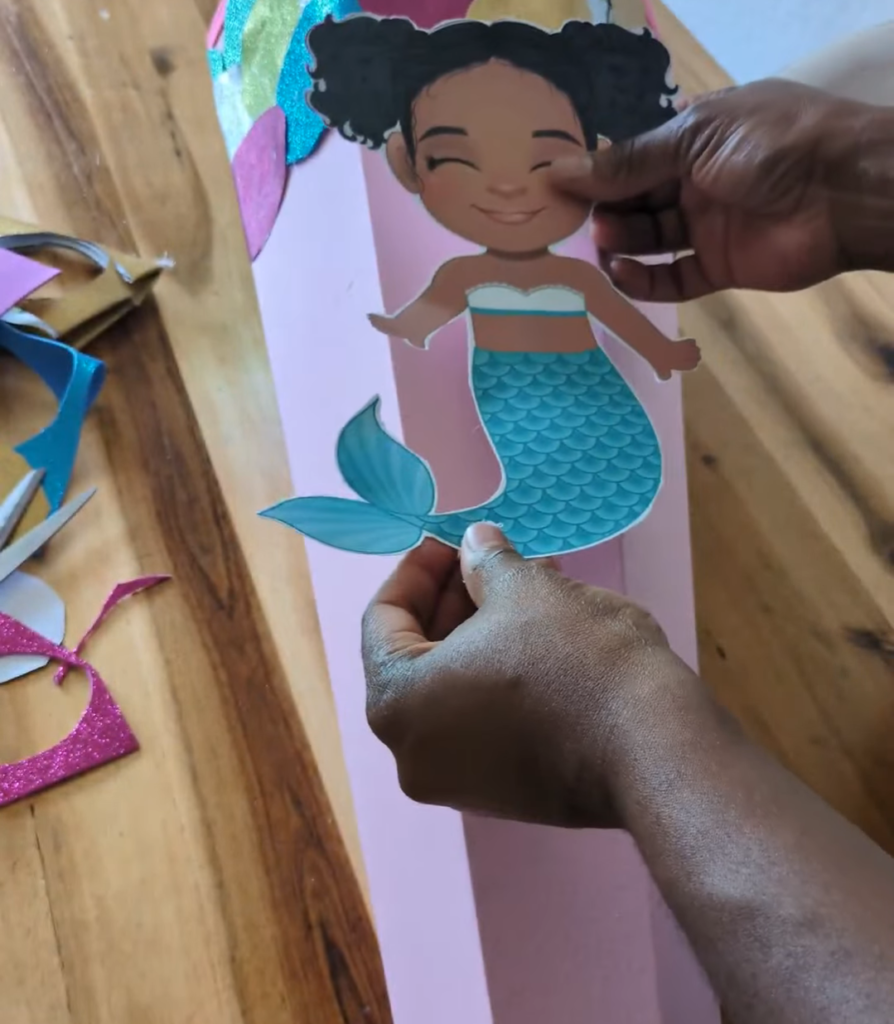
For the main decoration, I used a printed mermaid image I got from Canva. I wanted the mermaid to resemble my daughter, so I chose an illustration of a Black girl with curly hair and a turquoise tail. That personal detail made the design feel much more special. I cut around the image and glued it onto the front of the cone, leaving part of the tail slightly raised, so that it has that 3D effect, instead of flattening every section completely.
Step 8: Add stickers and your child’s name
To finish the Schultüte, I involved my kids and gave them rolls of mermaid and ocean-themed stickers to add around the cone. It was the perfect opportunity to do a back-to-school craft activity on a long afternoon at home.
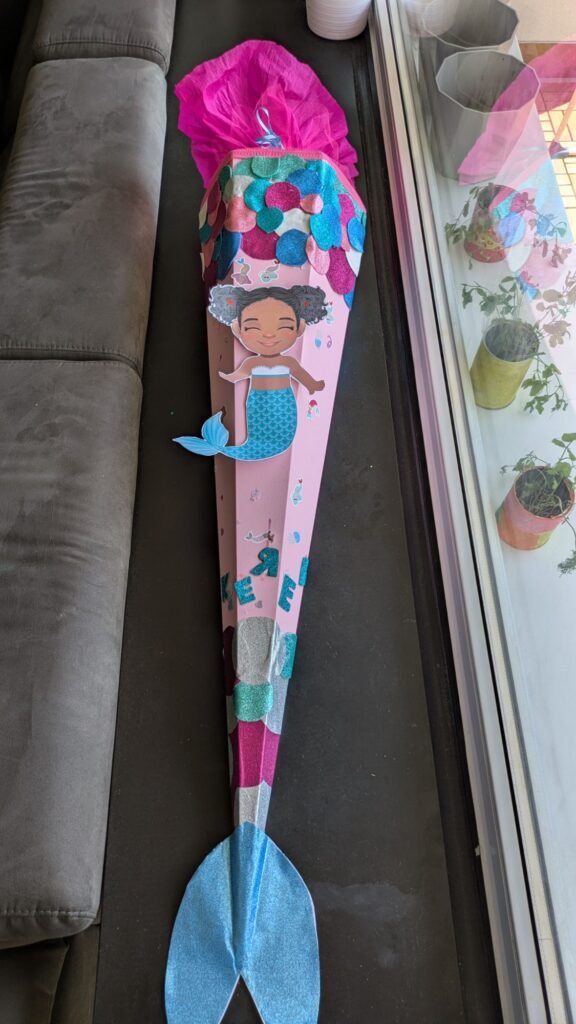
Once everything was attached, I filled the cone, gathered the pink paper at the top, and tied it closed with a ribbon, and that was it. I had one giant, glittery mermaid Schultüte ready for my daughter’s first day of school. She had asked for a mermaid Schultüte, and that was exactly what she got; she was thrilled when she saw it, and that made my heart leap.
The Finished Schultüte
Do you need to make the cone from scratch?
No, not at all. You certainly don’t need to. In my opinion, buying a ready-made cone is the quickest and easiest option, and it is the option I chose. I chose it because, as I said before, it gives you a good base for the decoration and saves you more time. Instead of worrying about how to cut out a cone shape from cardboard, your only concern would be making it pretty enough for your child.
You can usually find plain Schultüte cones in German shops during back-to-school season, or you could order them online – I ordered mine from Amazon. However, if you would rather make the whole thing yourself, you can create a cone using sturdy cardboard or poster board, and I recommend following a dedicated cone-making tutorial because getting the shape and closure right can be a little fiddly.
What should you put inside a Schultüte?
Traditionally, Schultüten are filled with a mix of practical school items and fun little surprises. For my daughter, I included school supplies, books, games, accessories, craft items and a few treats. You can see the complete list in my other post: What’s Inside My Daughter’s Schultüte? Back-to-School Gift and Filler Ideas. That post includes everything I packed inside, plus ideas for choosing Schultüte fillers your child will actually use after the first day of school.
Frequently asked questions
What is a Schultüte?
A Schultüte is a large decorated school cone traditionally given to children in Germany on their first day of primary school and is usually filled with school supplies, small gifts, books, toys and sweet treats.
Where did you buy your Schultüte?
I ordered the plain ready-made cone from Amazon.
Where did you buy the decorating materials?
I found my glitter sheets and most of the decorating materials at TEDi. I’ve linked similar materials from Amazon under the “Materials I used” section, for anyone who cannot find the same items locally.
Can I decorate a Schultüte without using a hot glue gun?
Yes. Strong craft glue or double-sided tape can work for lightweight paper, stickers and foam shapes. But for heavier decorations like the tail, I suggest using hot glue because it provides a stronger hold.
How long does it take to decorate a Schultüte?
A simple design using stickers and name letters could take less than an hour, but a more detailed design like this mermaid Schultüte could take longer because of the tracing, cutting and overlapping scales. I recommend making it over a few relaxed sessions instead of trying to finish everything in one sitting.