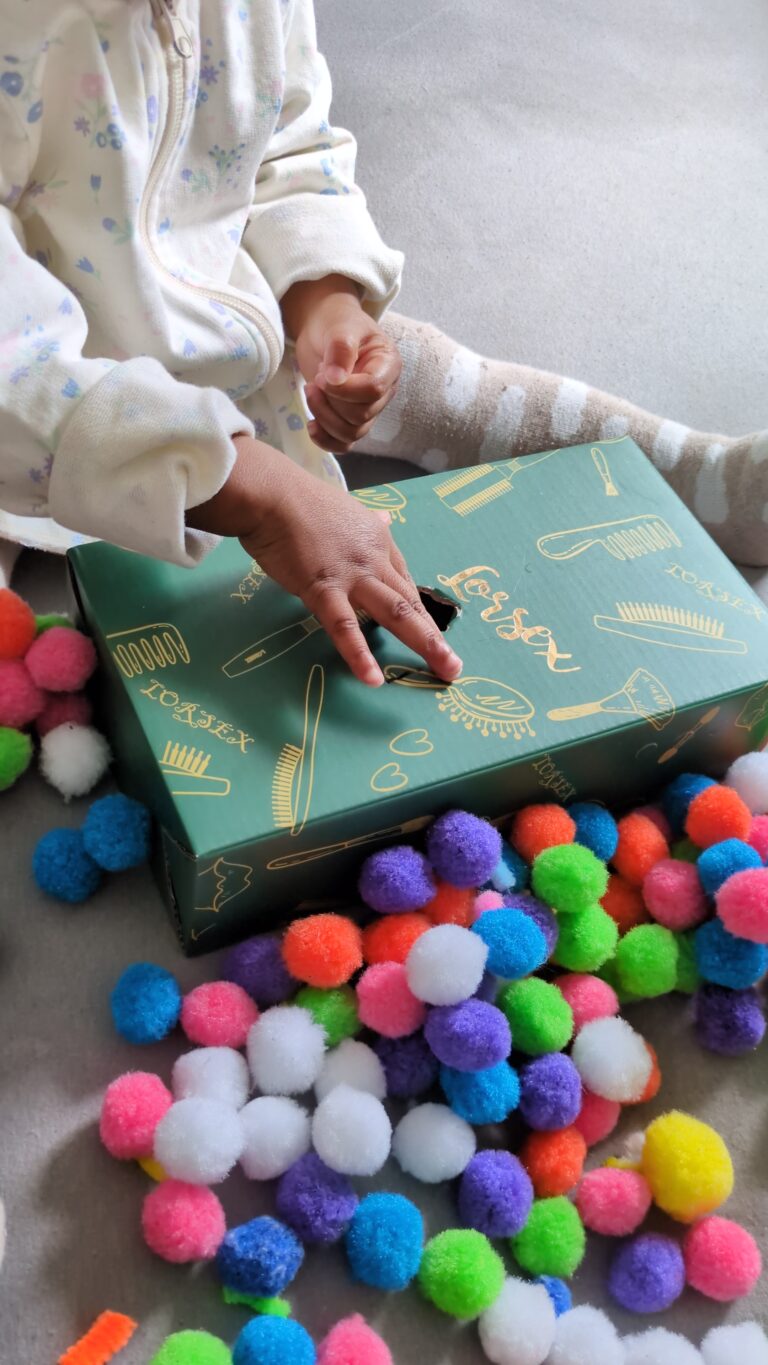
Before I really started crafting with my kids, most of my egg cartons never made it past the recycling bin, and now that I think about it, I had been missing the opportunity to put them to good use. But now that I know, I never miss the chance to turn them into something valuable for myself and for my kids.
The smartest way to reuse an egg carton is to turn something you already have into a low-mess activity your kids actually want to do, and you do not need crafting skills for that. So, before you fling that egg carton into the bin, take a long pause and remember that they are one of the easiest ways to bring calm to you and entertainment to your kids.
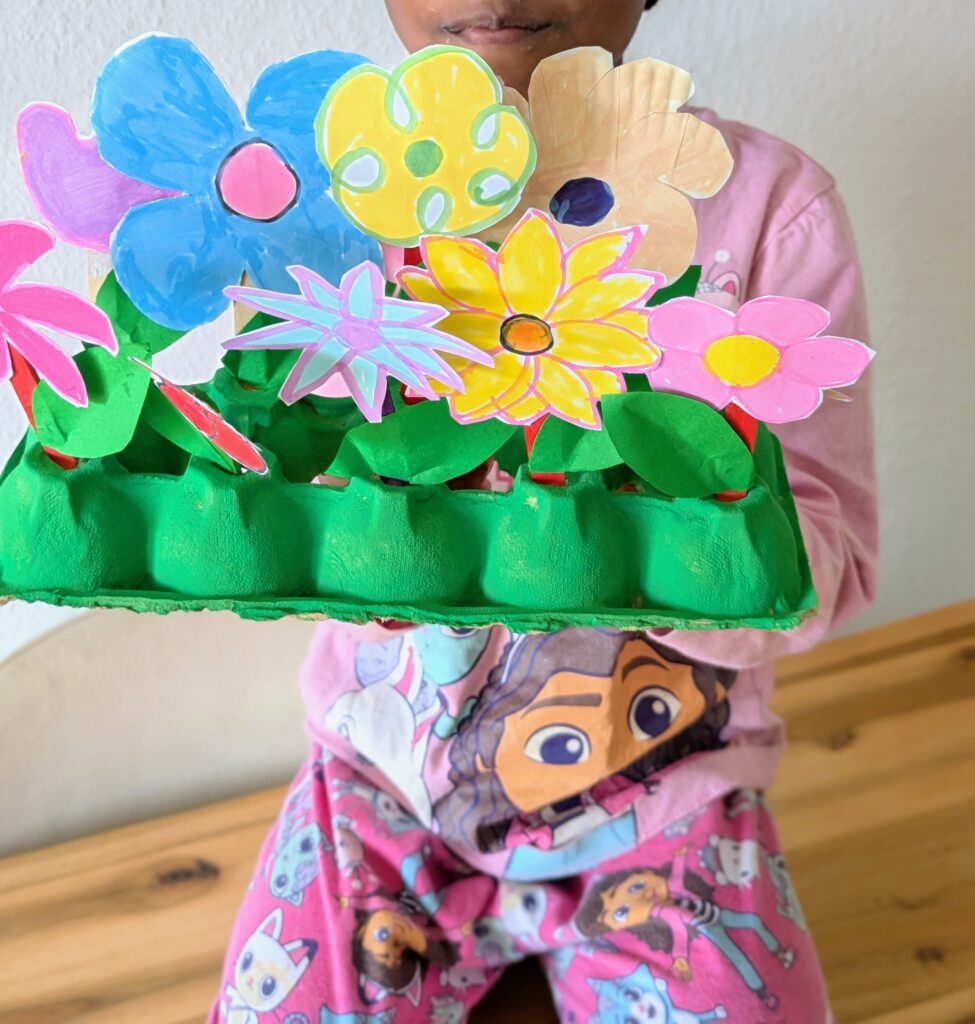
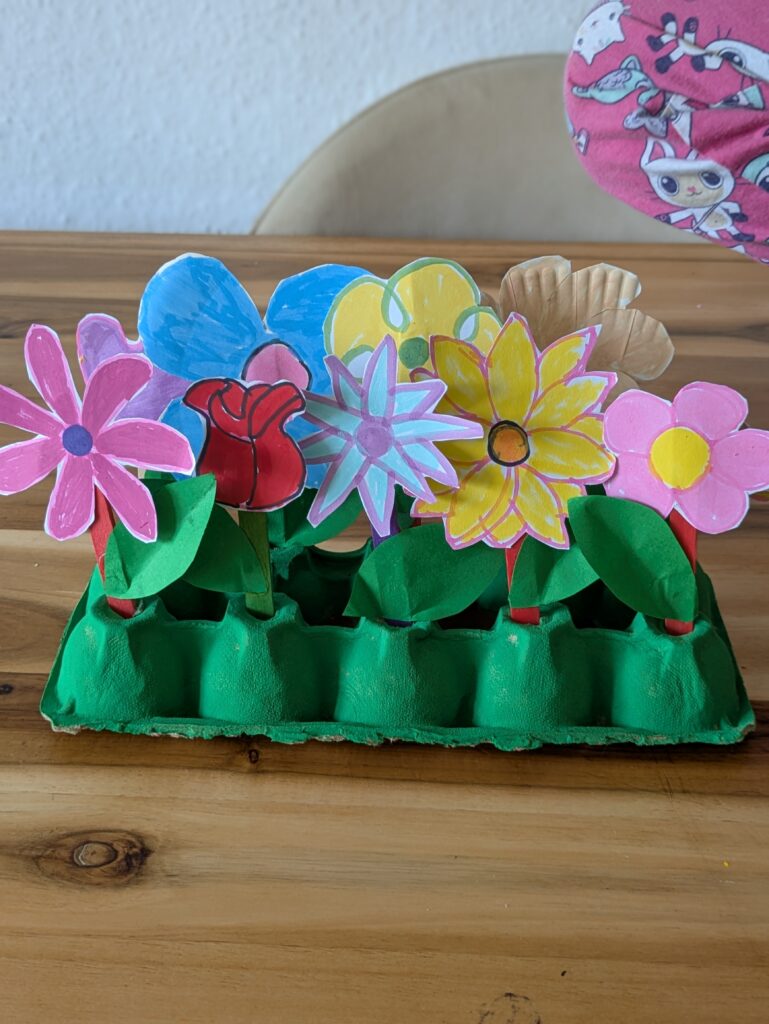
For me, I turned this egg carton into a mini flower garden. It was a self-calm craft for me, something I quietly did at night while my kids slept. But the next day, it turned into a play and a learning tool for them. And just like everything I share here, you do not need any fancy materials or expert skills to make this because all I did was cut out flower shapes, paint them and glue them onto popsicle sticks. If this sounds doable for you, keep reading to see the step-by-step process. But first……
Here’s What You’ll Need:
- 1 empty egg carton
- Paint and washable paint markers
- White print paper
- Scissors
- Popsicle sticks
Step-by-Step Instructions:
- Paint your egg carton green: This will be your “garden bed.” For low mess, use washable paint markers. Not only are they easy to hold, but they don’t create a mess.
- Draw and cut out flowers: Draw cute flowers on your print paper, colour them or paint them, then cut them out.
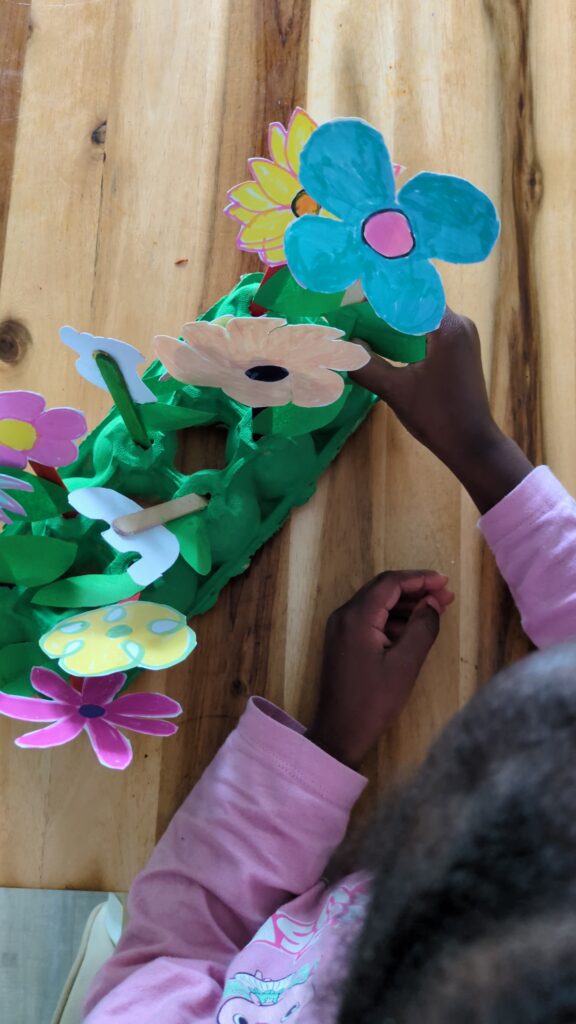
- Glue the flowers: Get your popsicle sticks and glue your flowers onto the sticks (this will be the stem). Don’t forget to add paper leaves with green construction paper to the stems.
- Punch holes. After that, punch holes in the top of the egg carton and insert each flower stem.
Mama Tip
If you can, pre-cut the flowers and leaves ahead of time; trust me, it makes the craft session way more fun (and you’ll avoid having bored and yawning kids staring at you while you try to cut things out!). Also, let your kids take over the colouring, glueing, and inserting the flowers, because they’ll love being part of the process, and it also encourages independent play.
Remember, I said this craft turned into a play and learning tool for my kids after I was done making it? Well, here’s what I mean:
Five Things This Craft Doubles As
- A counting activity: We used each flower as a chance to count. And alongside, I asked them questions like “How many did we plant?” “How many red ones?” “Can you give each one a number?” We basically just did a very casual, unplanned, playful hands-on math!
- An introduction to planting and harvesting: So even though these flowers don’t need water, this craft opened the door to talking about how real plants grow, like what seeds need and what happens after we “plant” them?
- A DIY toy for pretend play: Without my being there, it turned into their own little garden scene; they kept taking out the flowers and putting them back in. At some point, my four-year-old turned it into a flower shop and had my six-year-old be her customer. It was quite funny to watch.
- A cute keepsake: Lastly, it’s simply a cute little decoration that can stand on the windowsill in your kitchen.
If this post inspired you to try one of these crafts with your kids, here are the supplies I always keep on hand. And if you’re missing a few things, these mom-tested favourites are what I reach for again and again.