Get in here, my non-crafty mamas, because this one is for you.
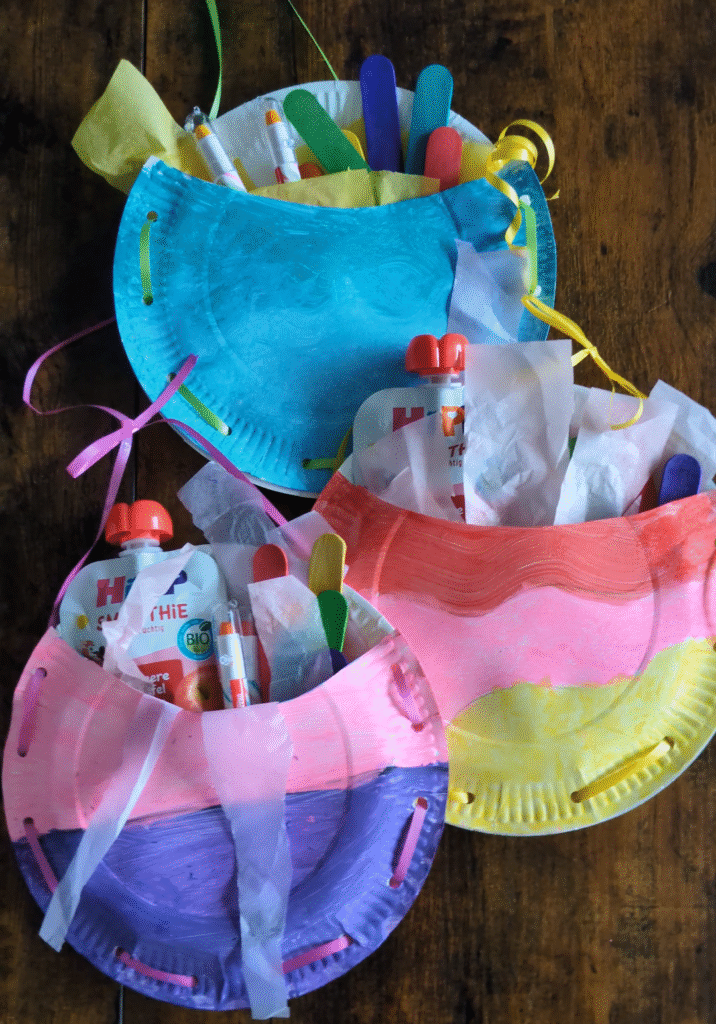
I’ve found a party favour idea that won’t leave us bankrupt – and you know what’s even better? It’s very easy to make, I promise. I made these DIY paper plate goodie bags for my daughter’s 6th birthday, and I’m glad I did. It was just something I thought would look cute, so I went for it. There was no theme for the birthday, it was just a birthday, and the colours I used are her favourite colours. Also, I didn’t have to purchase paper plates because I already had them lying in my kitchen cupboard, so it was a win-win for me.
Supplies you need
- 2 paper plates
- Kid-friendly paint
- Scissors
- Glue
- Ribbon
- Hole puncher
- Tissue paper
How to make your own paper plate goodie bag
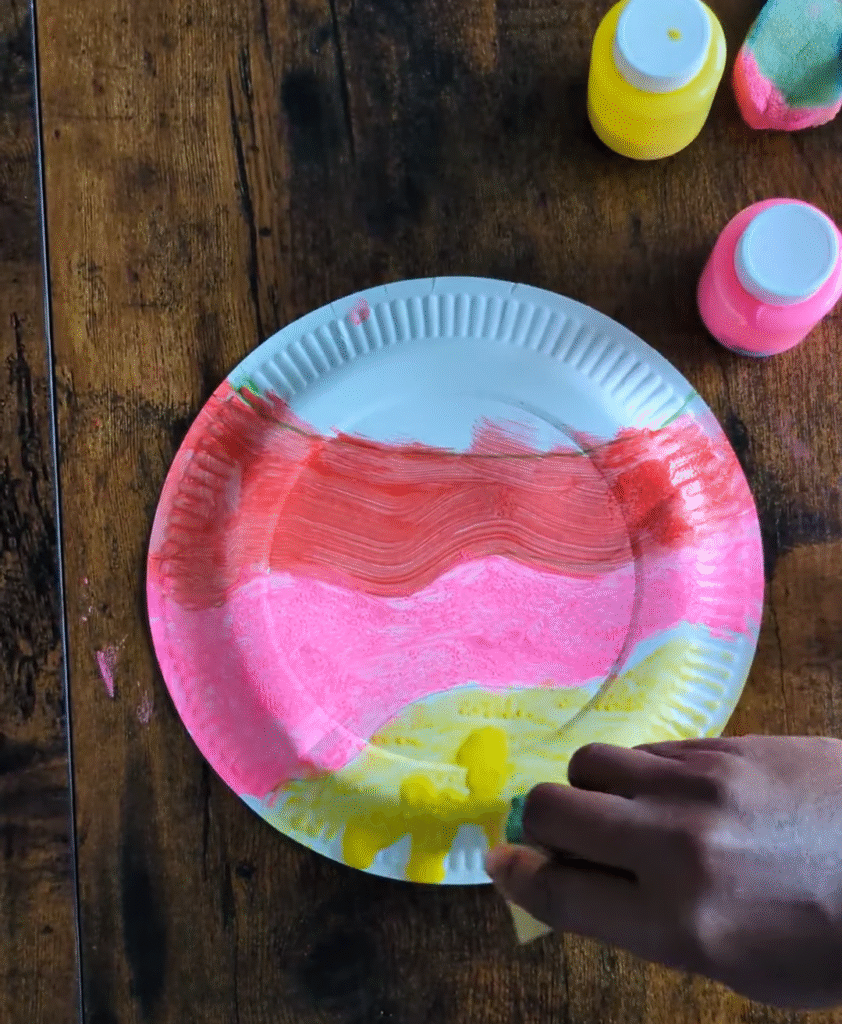
Step 1:
Paint the plates with your child’s favourite colour or theme (the full circle one and the half circle one) with washable paint, and set aside to dry. When dry, you can go ahead and decorate with stickers, markers, pompoms, whatever you like. This is the part kids love most, so you might want to get them involved if you’d like. My girls were too busy playing pretend mom and dad with their dolls and had absolutely no interest in taking part, but became obsessed with the result.
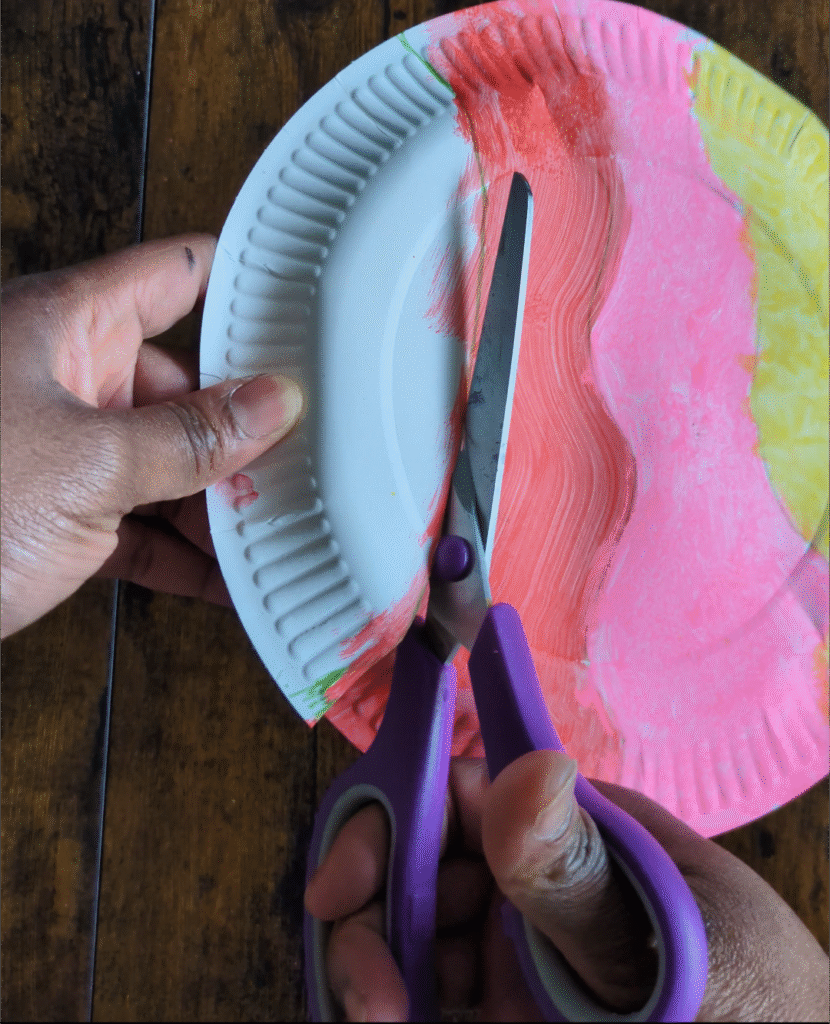
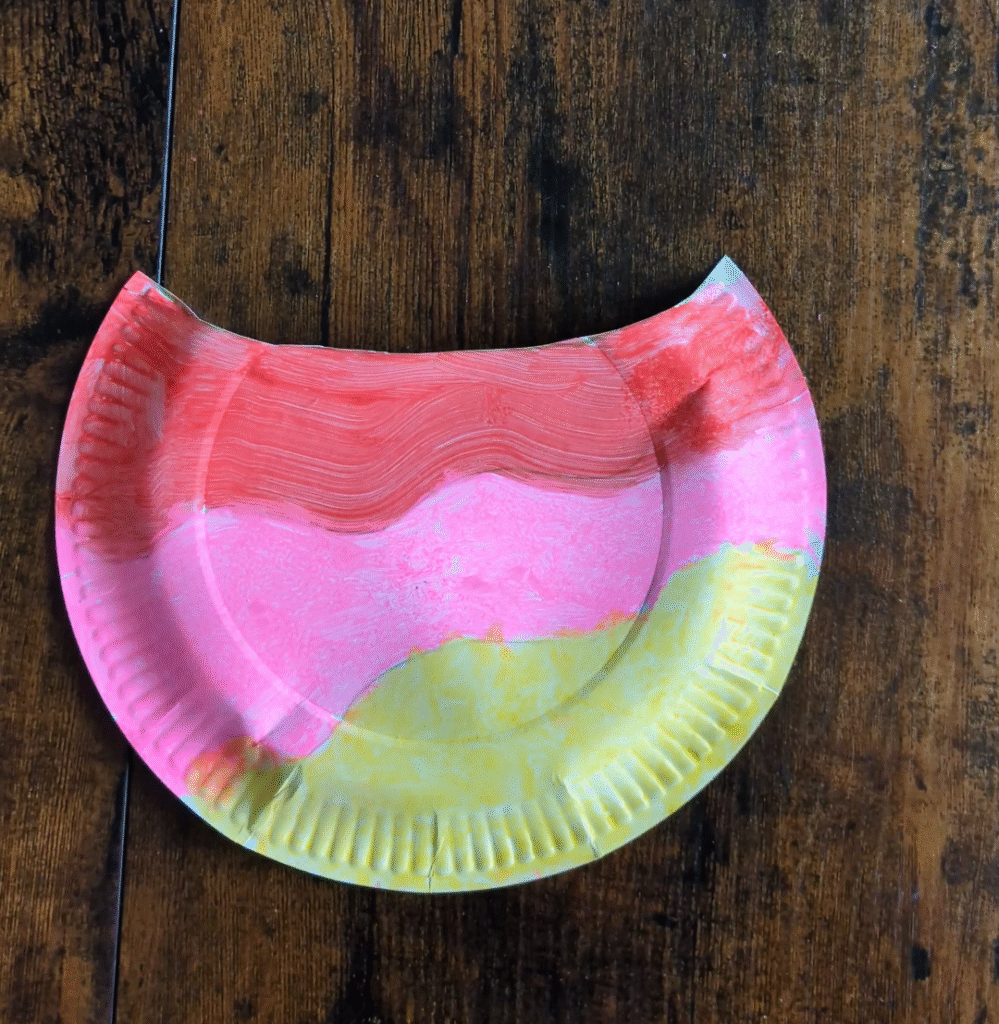
Step 2:
Cut one paper plate in half, as this half circle will be the “pocket.” Tip: Use scissors for this part. If you have shaky hands like me, consider outlining with a marker first for a clean cutout.
Step 3:
Now, it’s time to attach the pocket (the half-circle) to the base plate (the full circle). To do this, place the half-circle plate on top of the full plate (make sure to apply some glue first, so that it’s firm and stays in place when you’re punching the holes). Alternatively, you could use a stapler to secure it; if you’ve got one, this is actually the better option.
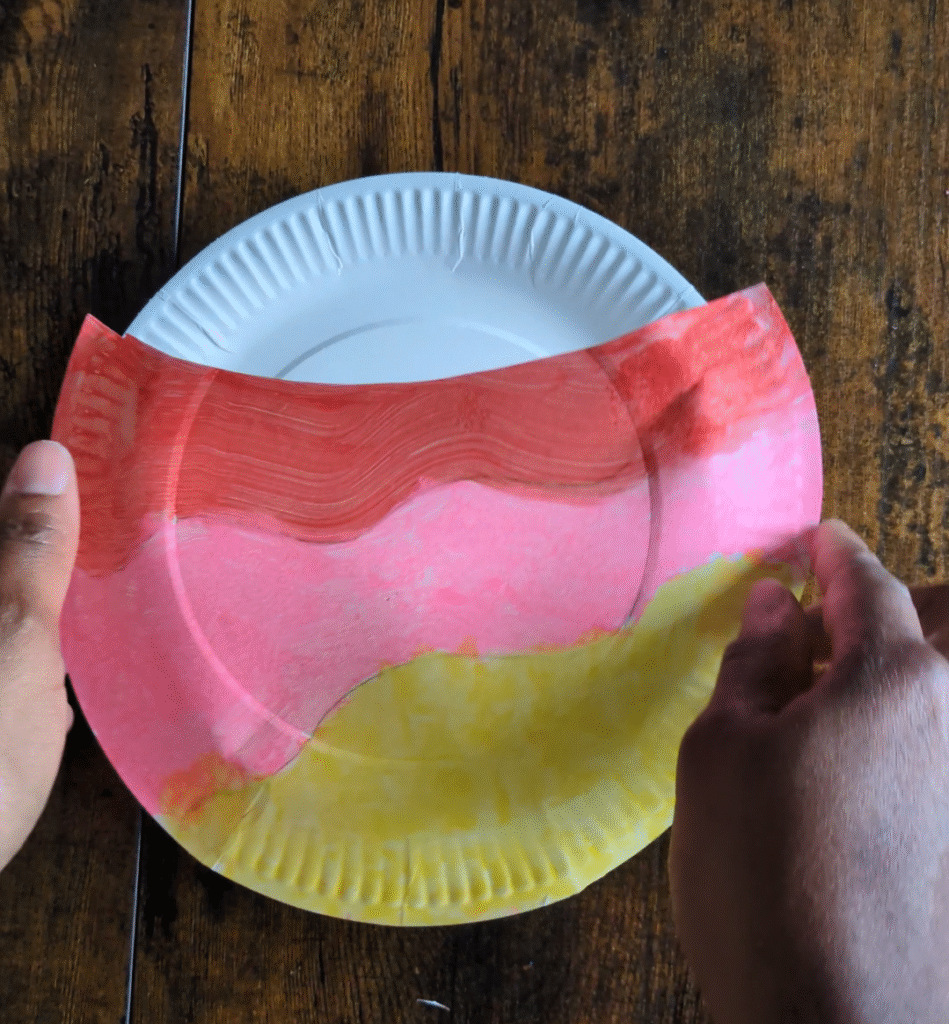
Don’t forget to leave the top open, because this is where the fillers go.
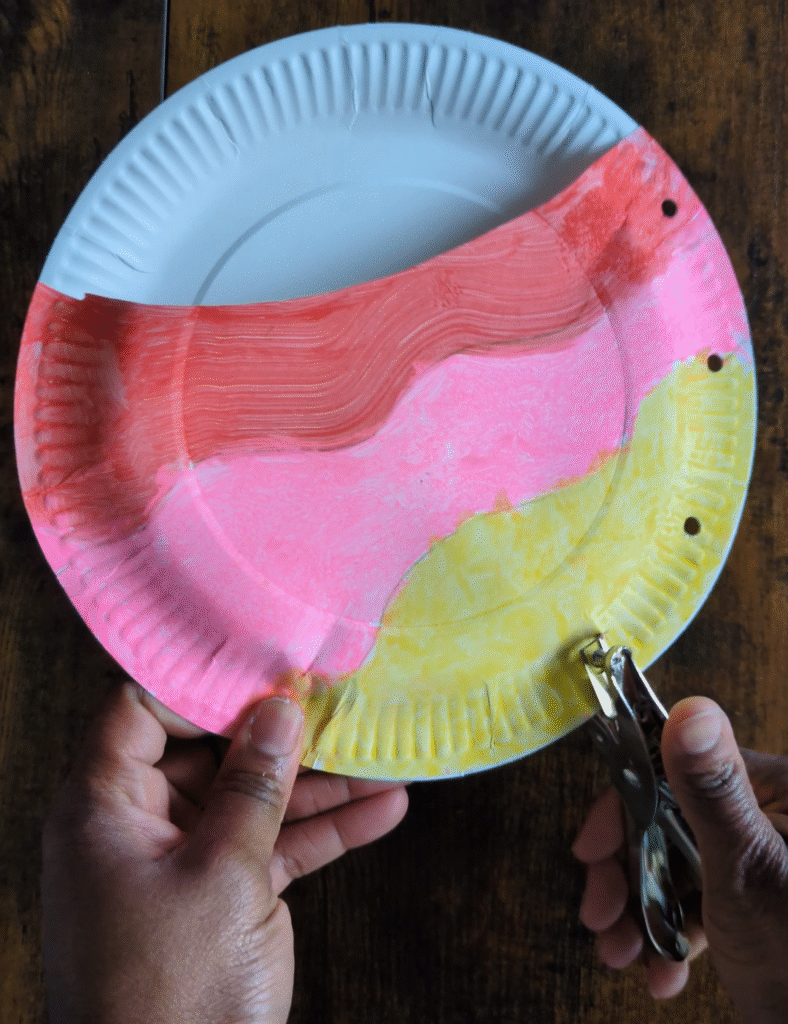
Step 4:
Get your hole punch and punch evenly-spaced holes around the plate, starting from one top edge of the half-circle and working your way around to the other top edge.
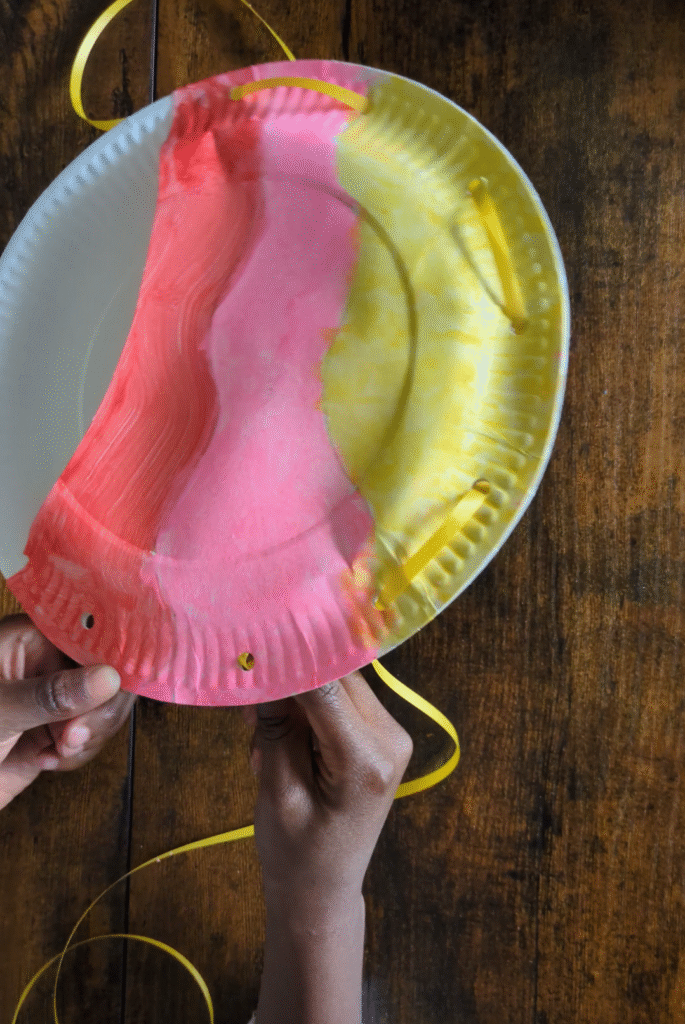
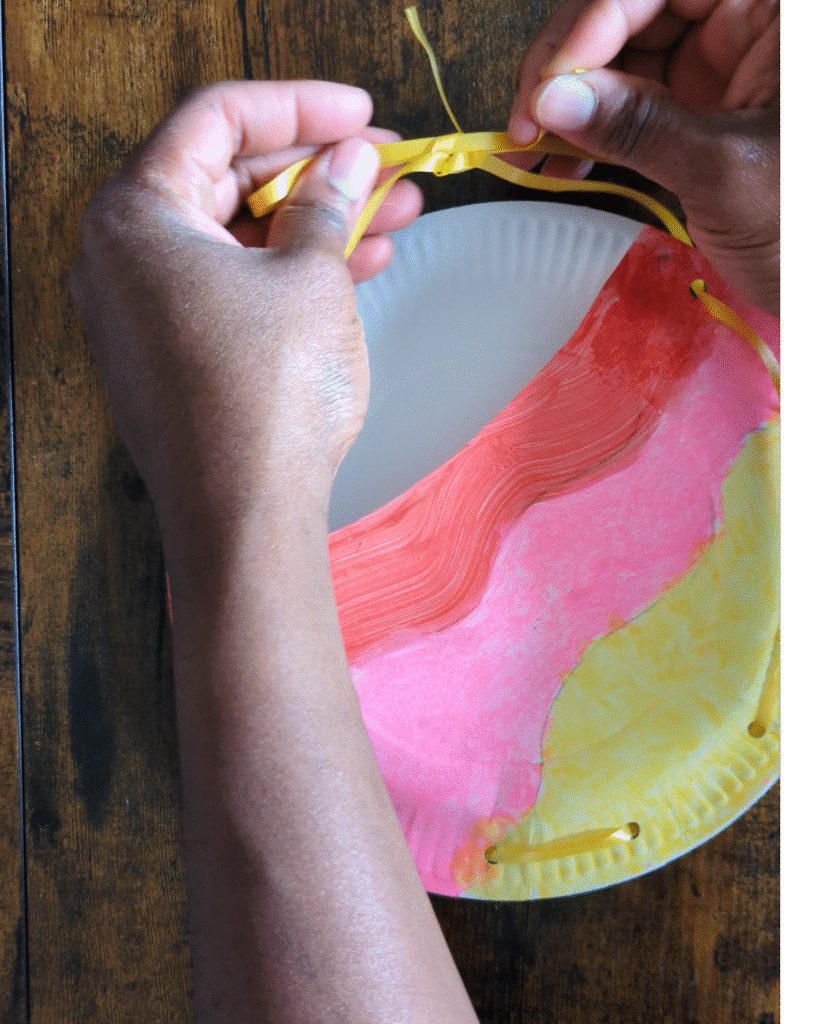
Step 5:
I love this next step because it’s such great fine motor practice. Get your ribbon and start threading it through the punched holes, moving from the back to the front and then onto the next one. Let your child take over here…because it’s fun, and a nice, busy time activity.
Step 6:
Tie your ribbon at the top in a cute little bow so it’s easy to hold. Put in tissue paper with pretty colours, then gently fill the goodie bag with your child’s favourite sweets and treats. Try not to overload it, as the bag might tear open – it is paper, after all. Also, stick to mini fillers that fit comfortably without putting too much weight or pressure on the bag.
And…… your goodie bag is ready
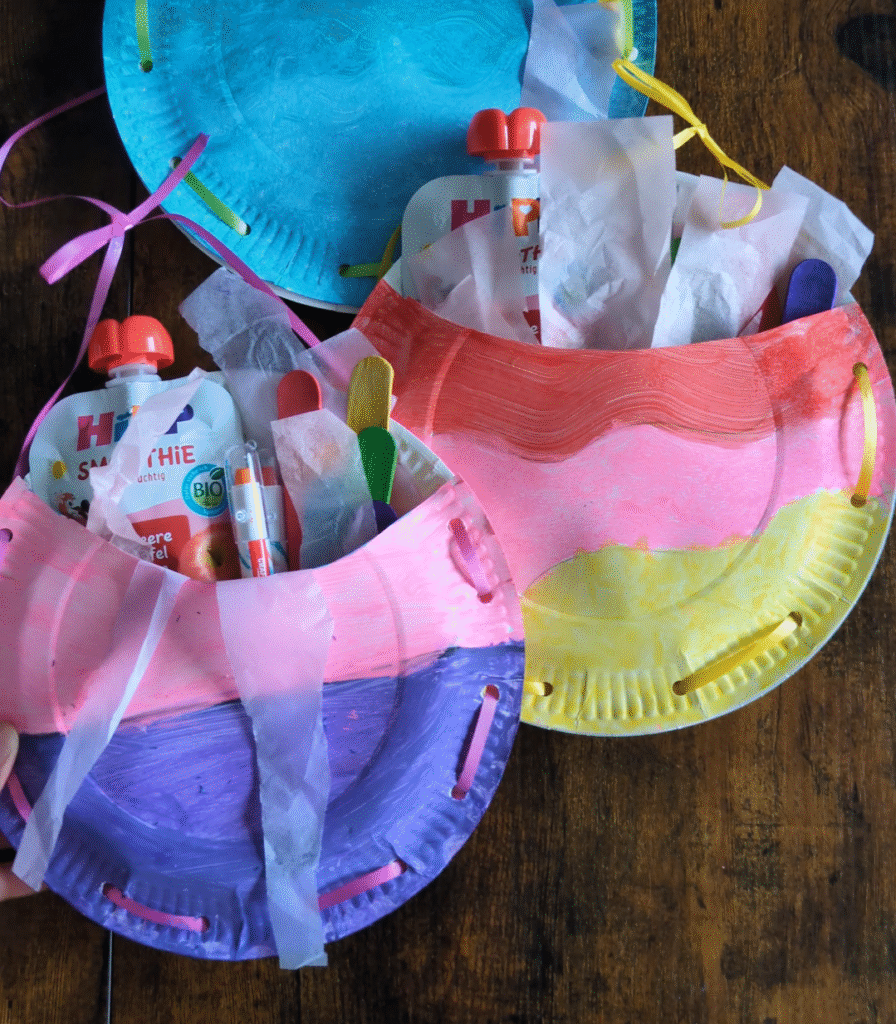
Filler Ideas
These are the treats I put in my daughter’s paper plate goodie bag.
- Popsicle sticks
- Crayons
- 1 Quetschie
- 2 mini chocolates
- 1 mini fruit snack
- 1 Lollipop
- 1 sheet of dot stickers
This is proof that you don’t need expensive fillers for your kid’s birthday party, and while to you, it might seem too little or too cheap, I promise that to them, it’s literally the ‘best party pack ever.’