How To Make Footprint Flip-Flops

Looking for a cute summer keepsake that’s as easy as it is adorable? These footprint flip-flops are perfect for toddlers and preschoolers, and they make a sweet memory of just how tiny those toes were!
Step-by-Step:
1. Trace the Foot
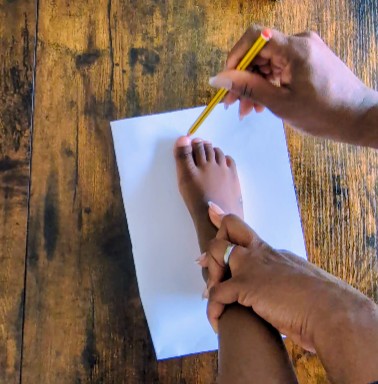
Start by having your child stand on a piece of paper. Use a pencil or marker to trace around one or both feet.
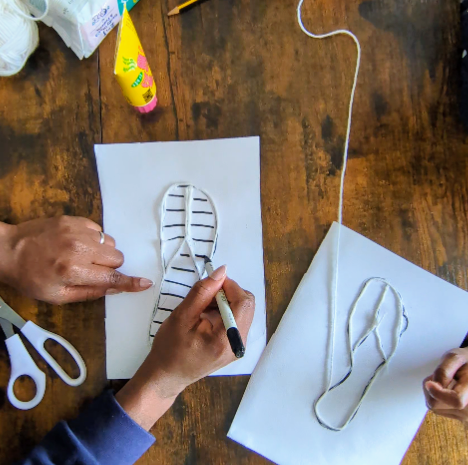
2. Create the Flip-Flop Shape
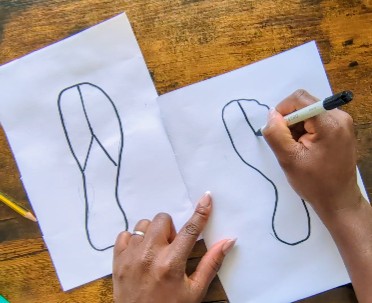
Inside the traced foot, draw two straight horizontal lines from one side to the other. These will be the straps of the slipper. You can add a little curved line toward the toe area to mimic the thong part of a flip-flop if you’d like.
3. Add the Yarn Outline
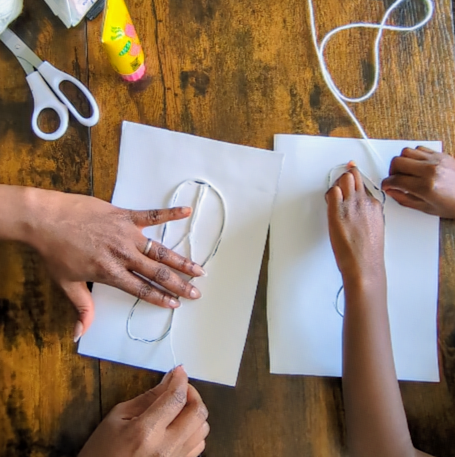
Trace the outside of the footprint with glue, then press down a piece of yarn to outline the shape. This gives it a fun texture and a cool “beachy” look!
4. Colour It In
Now it’s time to decorate! Draw horizontal lines.

Use markers, crayons, or paint to fill in the horizontal strip lines with fun colours and patterns. Think tropical vibes, rainbow stripes, polka dots, anything goes.
5. Flip-Flops Are Ready!
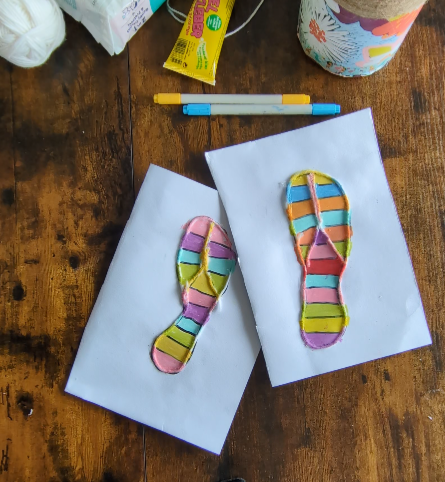
Once everything is dry, you’ve got a playful little flip-flop craft to hang on the wall, fridge, or keep in a memory box.
Suppose you love keepsake crafts like our summer footprint slippers. In that case, you’ll definitely want to check out this adorable seasonal collection of footprint craft ideas from The Best Ideas for Kids, perfect for any season!
Final Thoughts
These footprint flip-flops are more than just a summer craft; they’re a sweet way to capture a moment in time. And they’re perfect for a beach day theme.
Don’t forget to check out more easy summer crafts for preschoolers right here on the blog.