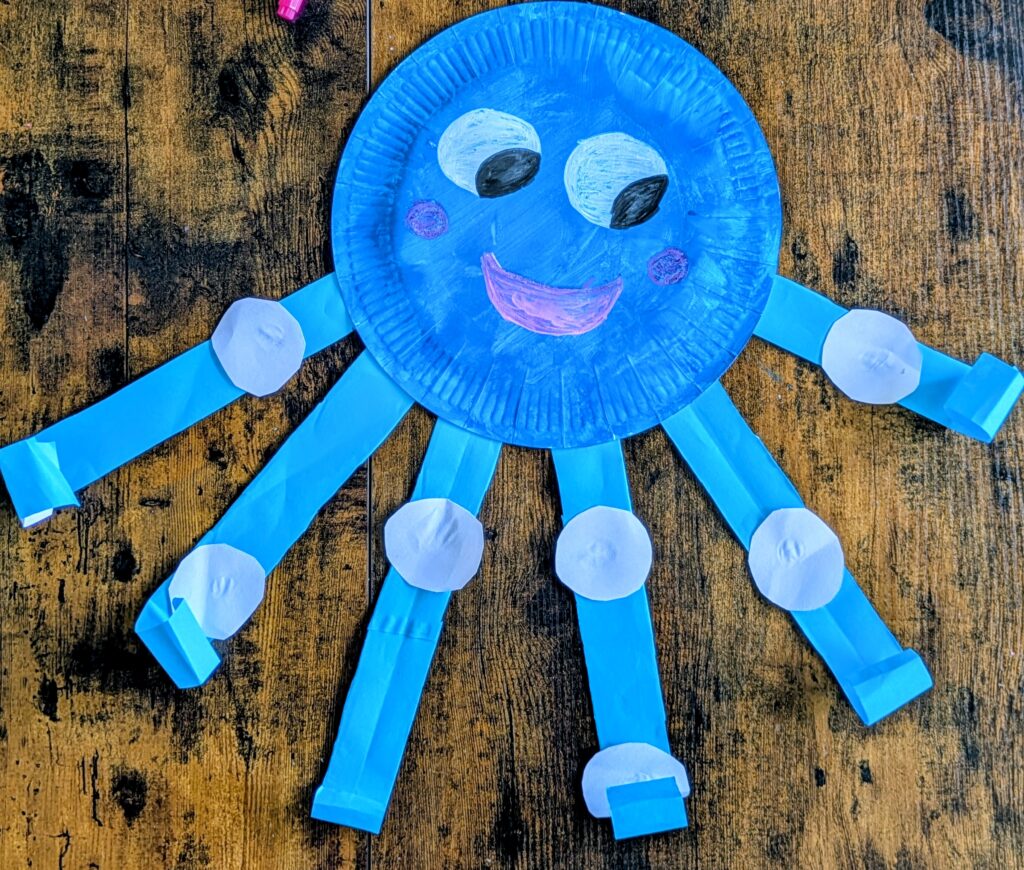
My five-year-old inspired this craft. Last summer, she was dreaming of the beach, but with no seaside trip in sight, we had to get creative. That’s how our blue octopus came to life, with a paper plate and some blue paint.
Materials You’ll Need:
- 1 paper plate
- Blue paint
- Blue construction paper
- White paper
- Black, pink, and white markers
- Scissors
- Glue
How to Make a Paper Plate Octopus – Step-by-Step
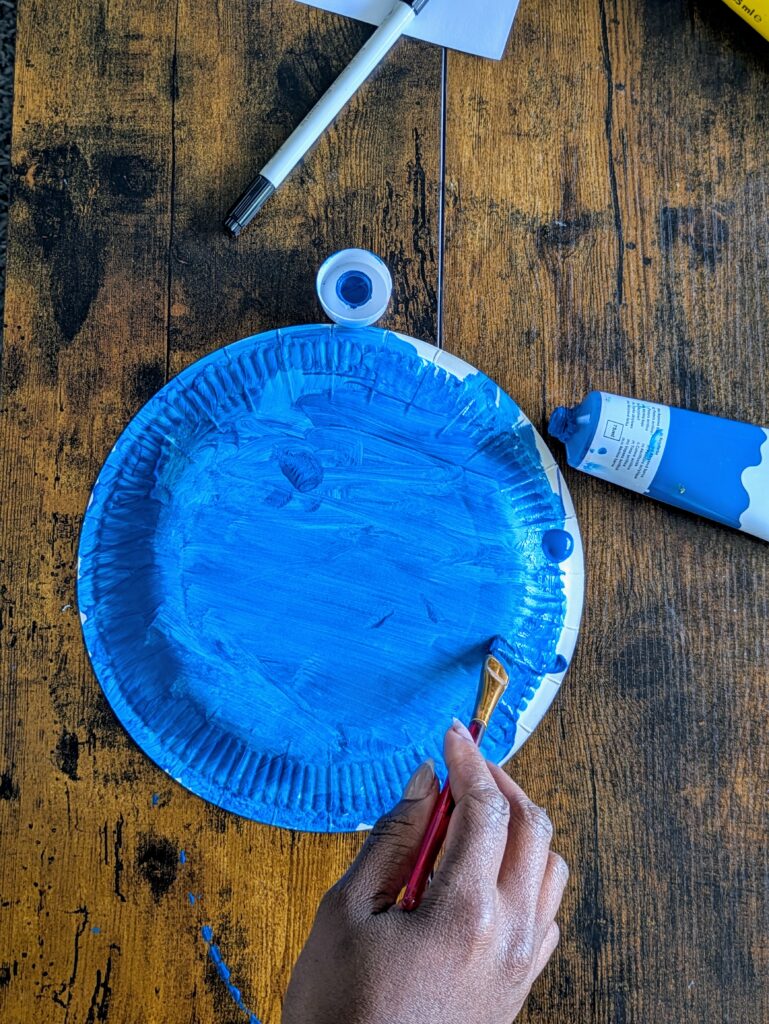
Step 1: Paint the Paper Plate Blue
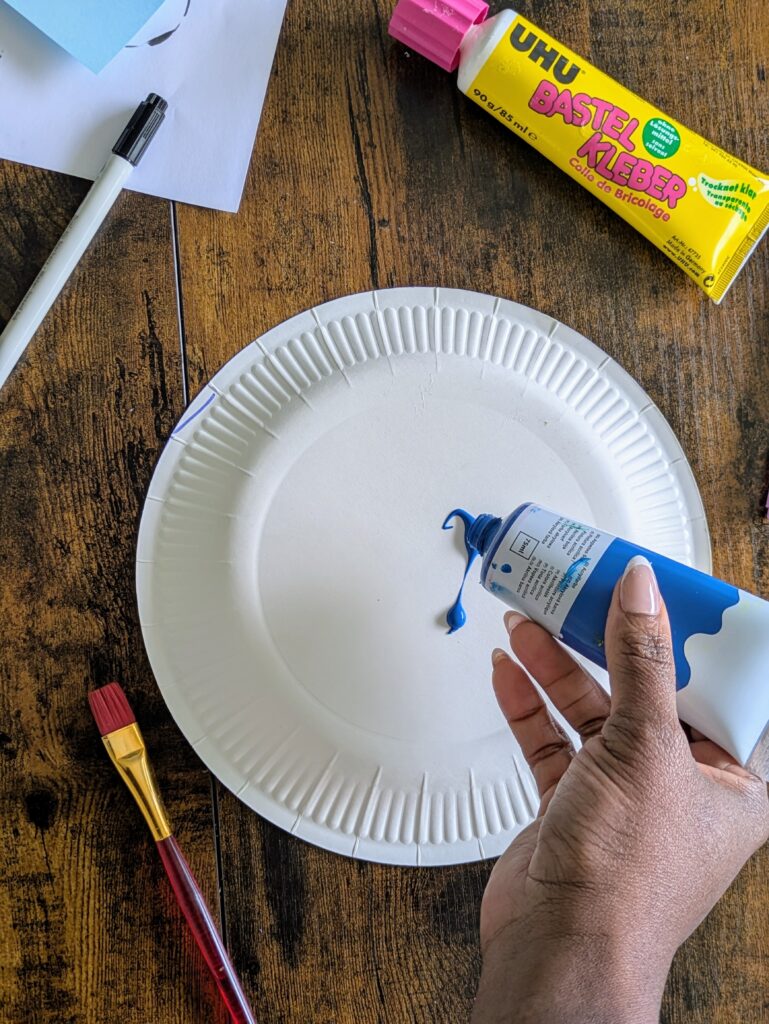
Start by flipping the paper plate over so the bottom side is facing up. Pour some blue paint onto the surface and let your child spread it all around using a brush or even their hands. Cover the entire surface and let it dry. This will be the head and body of your octopus.
Step 2: Cut the Octopus Legs and attach them
While the plate dries, cut eight long strips from the blue construction paper. These will be the octopus’s legs (or technically, arms!). Try to keep the strips even, but don’t worry if they’re not perfect; the beauty is in the handmade look.
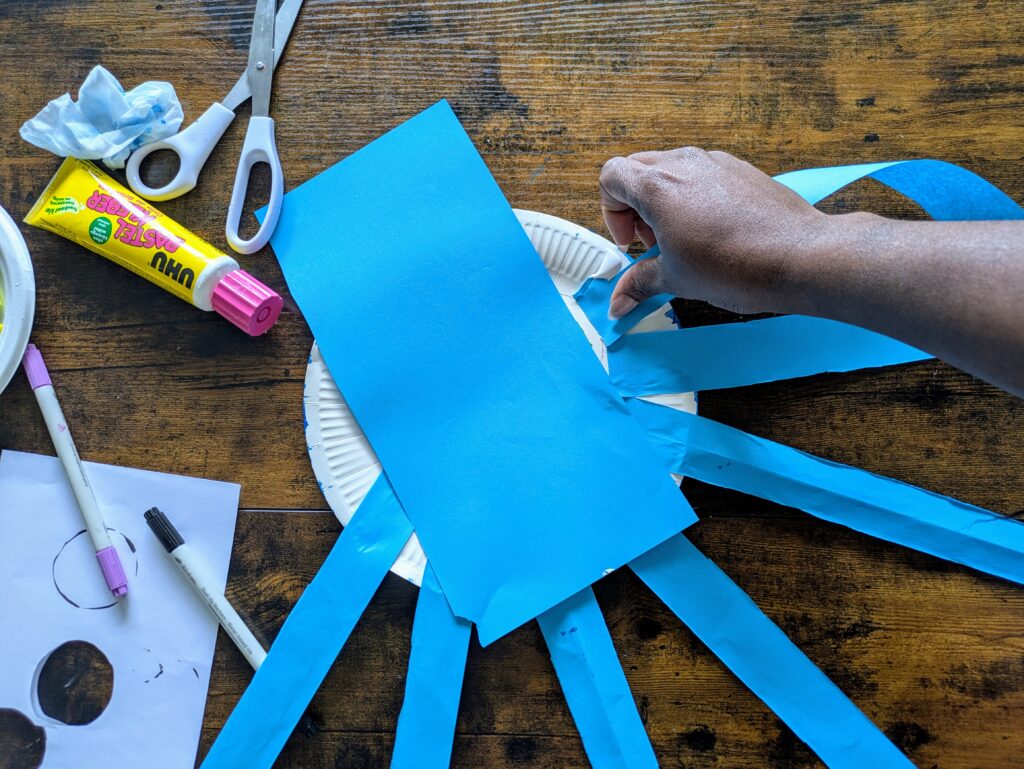
Turn your painted plate back over and glue the blue strips along the bottom, spacing them out in a semicircle. This creates the illusion of an octopus with its arms dangling and moving, much like it would in the ocean.
Step 3: Create the Tentacle Texture
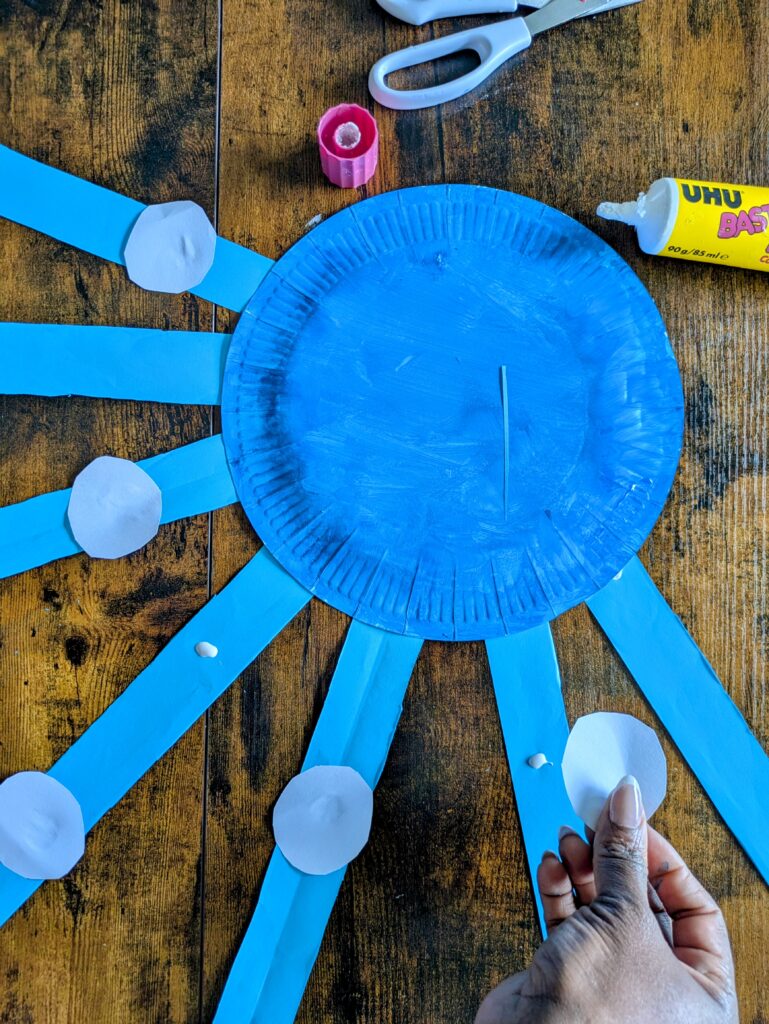
Cut small circles out of white paper to mimic the suction cups on the tentacles. Glue them scattered across the blue strips for a playful, tactile detail that brings your octopus to life.
Step 4: Curl up the legs
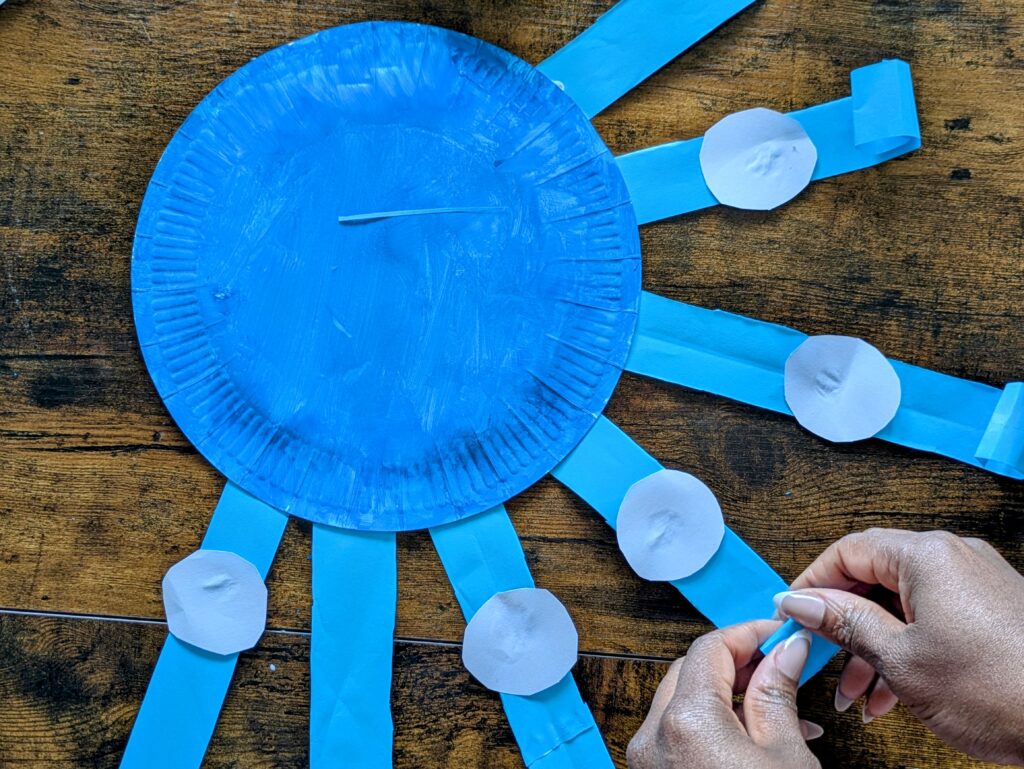
Once the strips are glued, gently curl the ends of each octopus leg by wrapping them around a pencil or your finger. This gives the legs a fun, wriggly look. It’s a small detail that adds movement to your craft.
Step 5: Add the Face
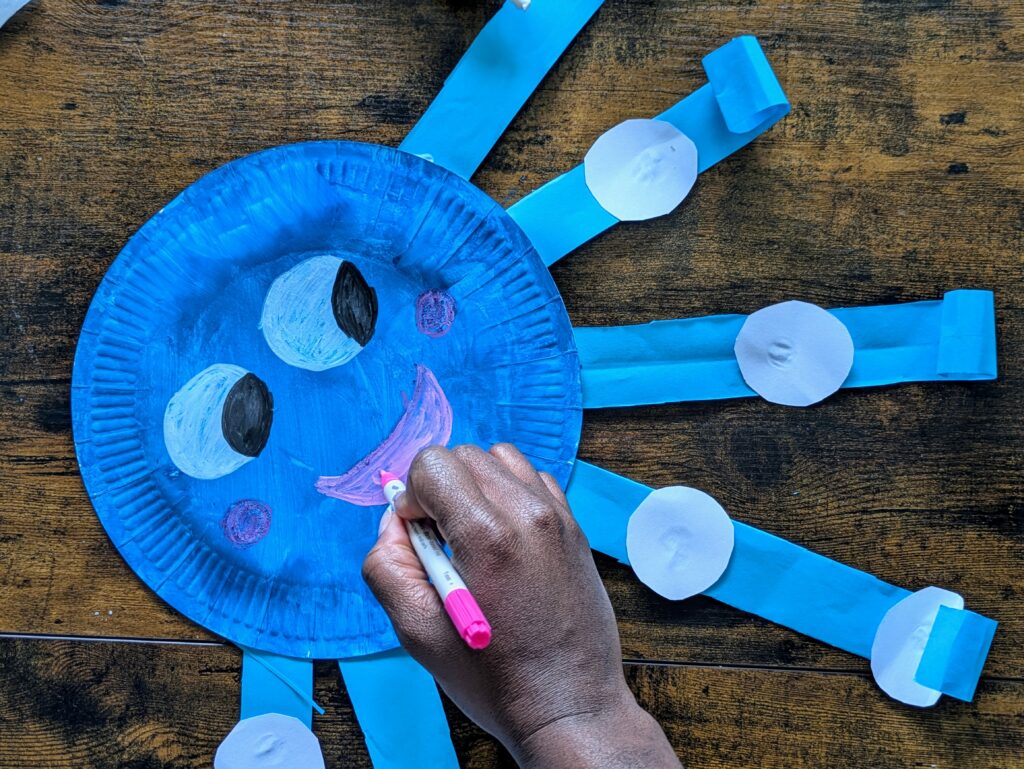
Use your black and white markers to draw big, round eyes on the blue plate. Add a touch of pink blush on both cheeks and draw a small, happy mouth to complete the expression.
Now your cuddly sea friend is ready to shine!
Pin it, share it, and don’t forget to subscribe for more fun craft ideas.