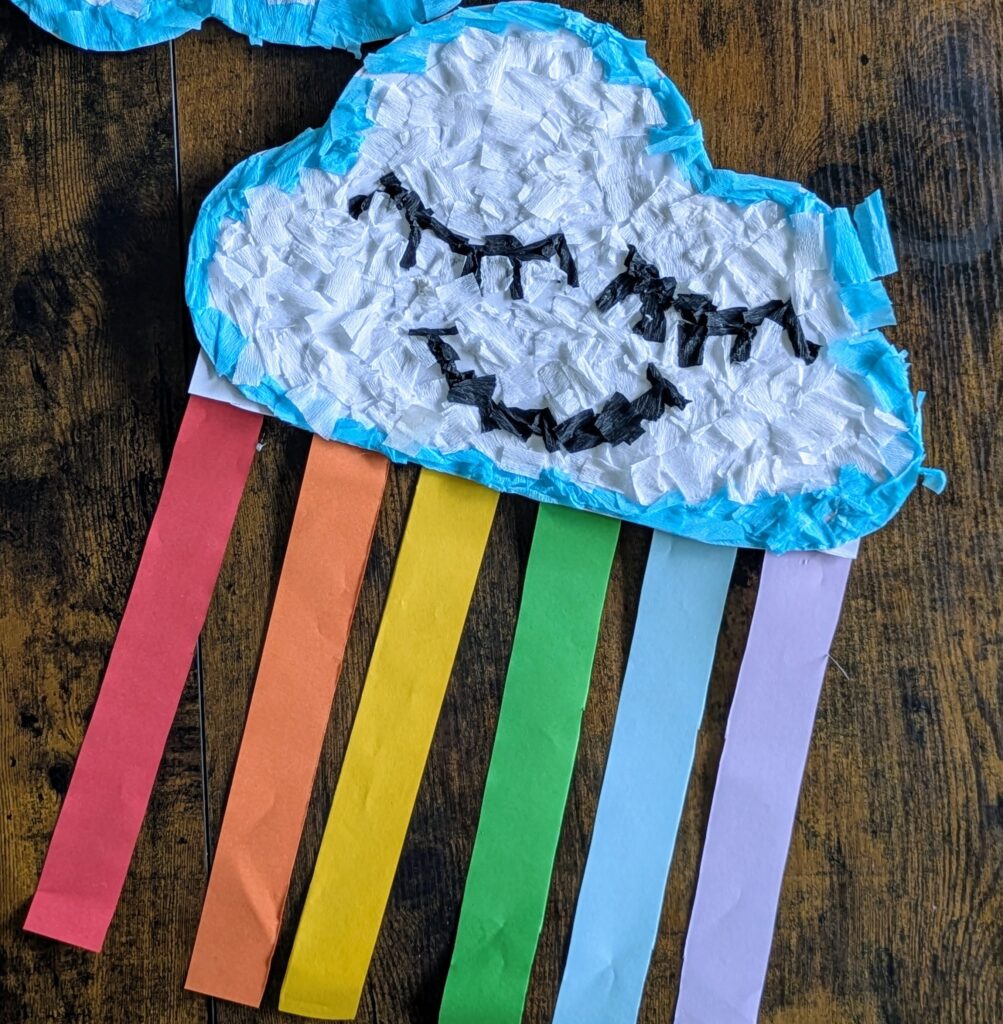
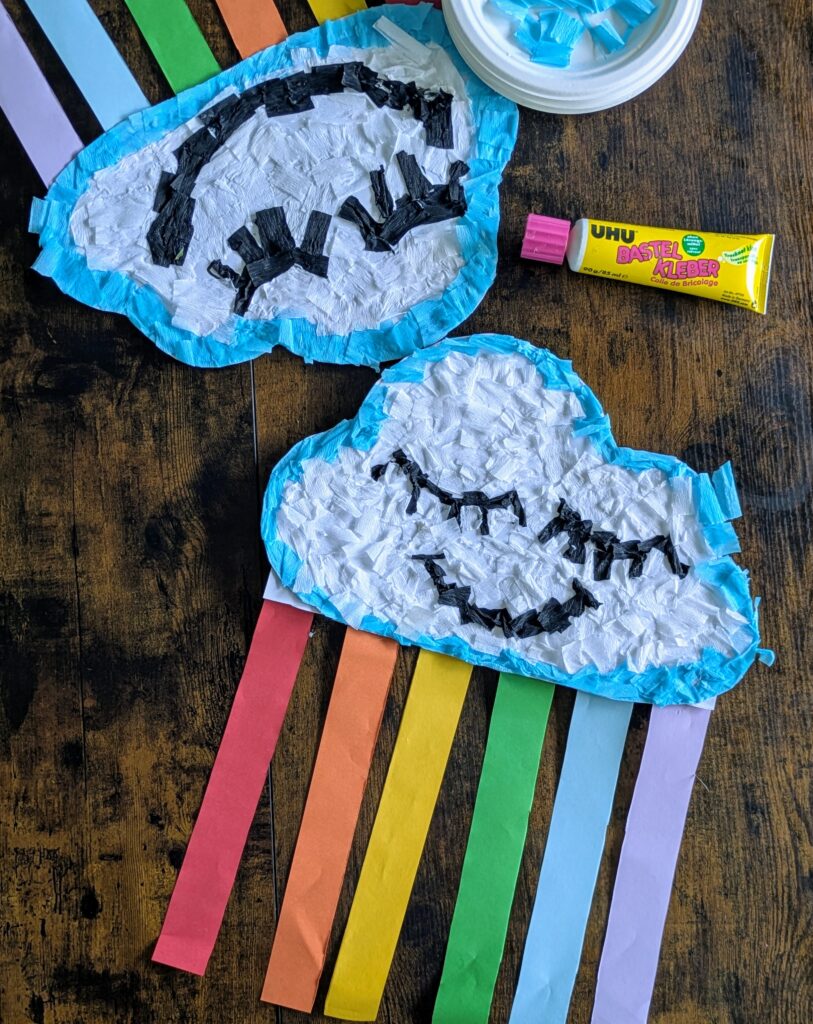
Looking for a bright and cheerful craft to entertain and keep your little ones busy? This crepe paper rainbow cloud is the perfect mix of creativity, fine motor skill-building, and fun. With simple materials like crepe paper, glue, scissors, and construction paper, you and your kids can create a colourful masterpiece that’s great for rainy days or celebrating spring and summer.
Materials You’ll Need:
To make your own crepe paper rainbow cloud craft, gather the following:
- White cardboard paper (for the cloud base)
- Crepe paper in blue, white, and black
- Construction paper in rainbow colours (red, orange, yellow, green, blue, purple)
- Scissors
- Glue
- Black marker
- 3 paper plates (for sorting your crepe paper)
Step-by-Step Instructions:
Step 1: Prep Your Materials
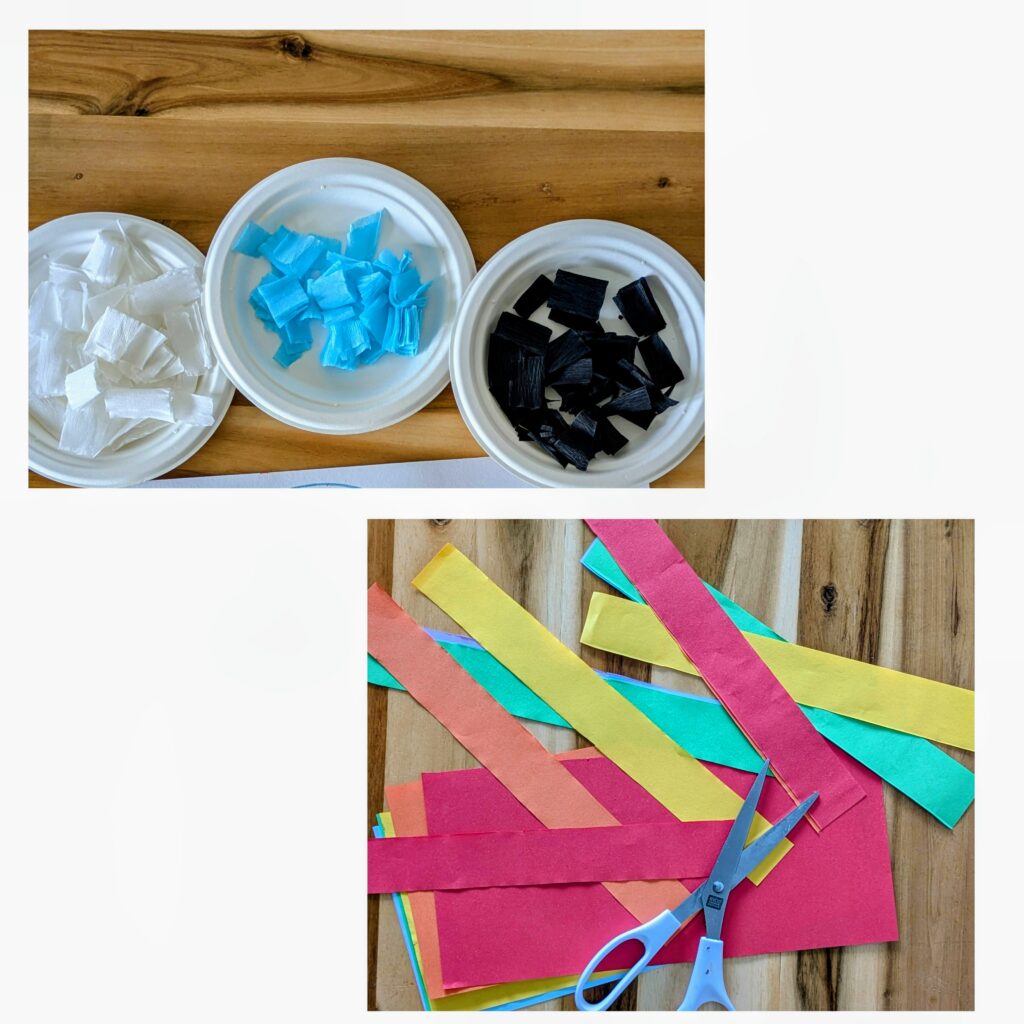
Start by prepping all your supplies. Cut the crepe paper into small square pieces: one batch in blue, one in white, and one in black. Place each colour into its own paper plate to stay organised.
Next, use scissors to cut strips of rainbow-coloured construction paper. These will form the hanging rainbow beneath your cloud.
Step 2: Draw and Cut the Cloud

On a sheet of white cardboard paper, draw a large cloud shape. Inside the cloud, draw a cute face using your black marker — include long eyelashes and a smiling mouth. Then, carefully cut out the cloud shape.
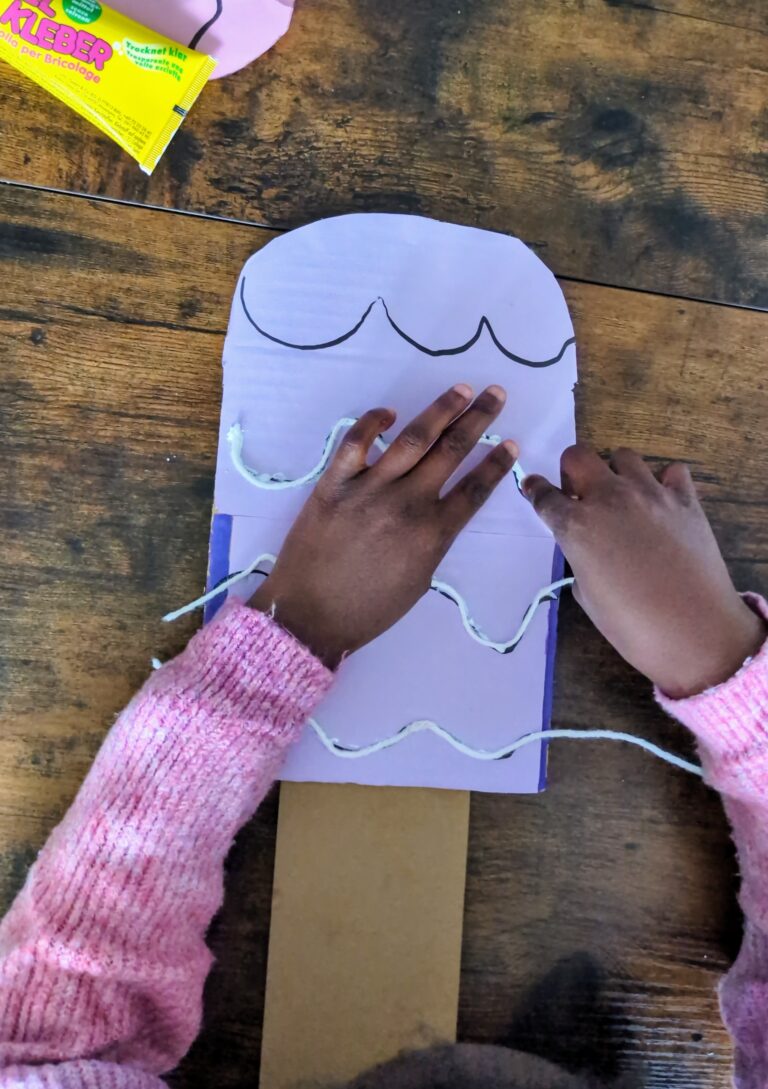
Step 3: Add the Blue Sky Edge
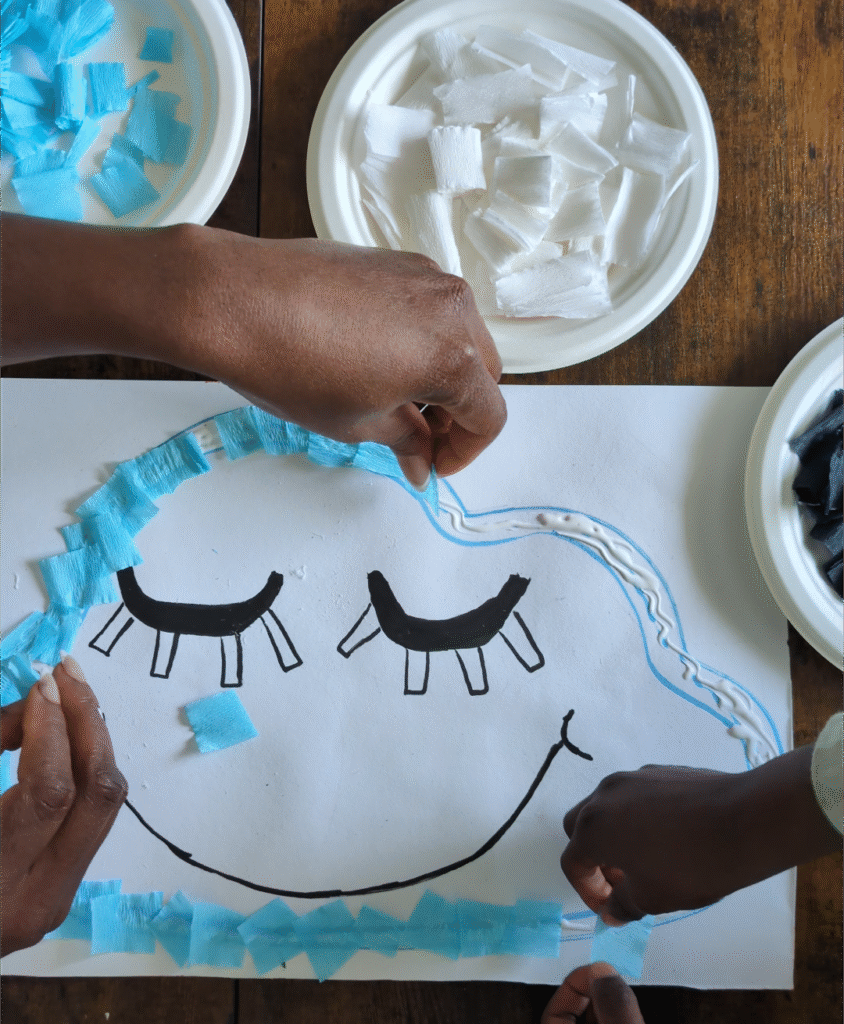
Apply glue around the outer edge of the cloud. Begin sticking the blue crepe paper squares around the perimeter. These represent the sky and give your cloud a bold, fun outline.
Watch the YouTube video to see how I glued around the outer edge of the cloud. Make sure to subscribe to my YouTube channel for more fun content!
Step 4: Fill the Face with White

Next, apply glue to the centre of the cloud, where the face is. Stick the white crepe paper squares here to give your cloud a fluffy, soft look.
Step 5: Add Black for the Eyes and Mouth
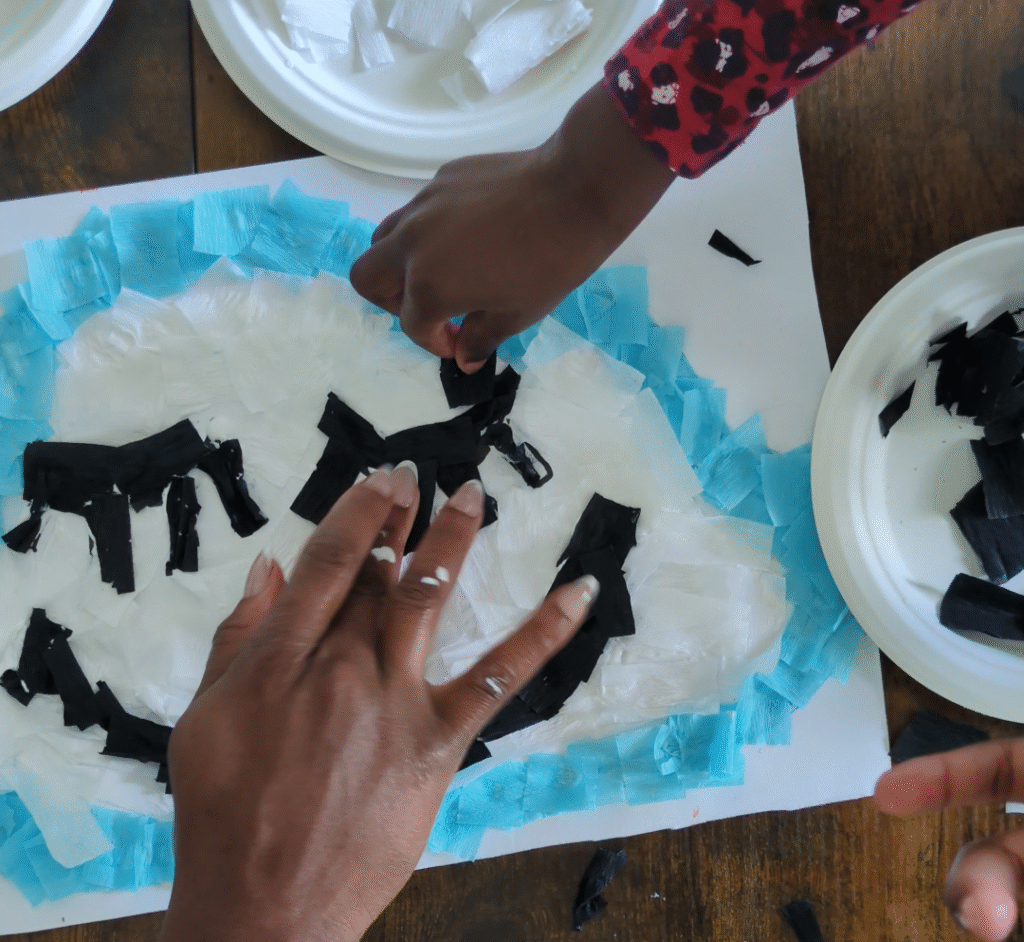
To highlight the face, glue black crepe paper over the lashes and mouth area you previously drew. This gives extra texture and makes the expression pop!
Watch the YouTube video to see how we made the cloud expression pop.
Step 6: Add the Rainbow Strips
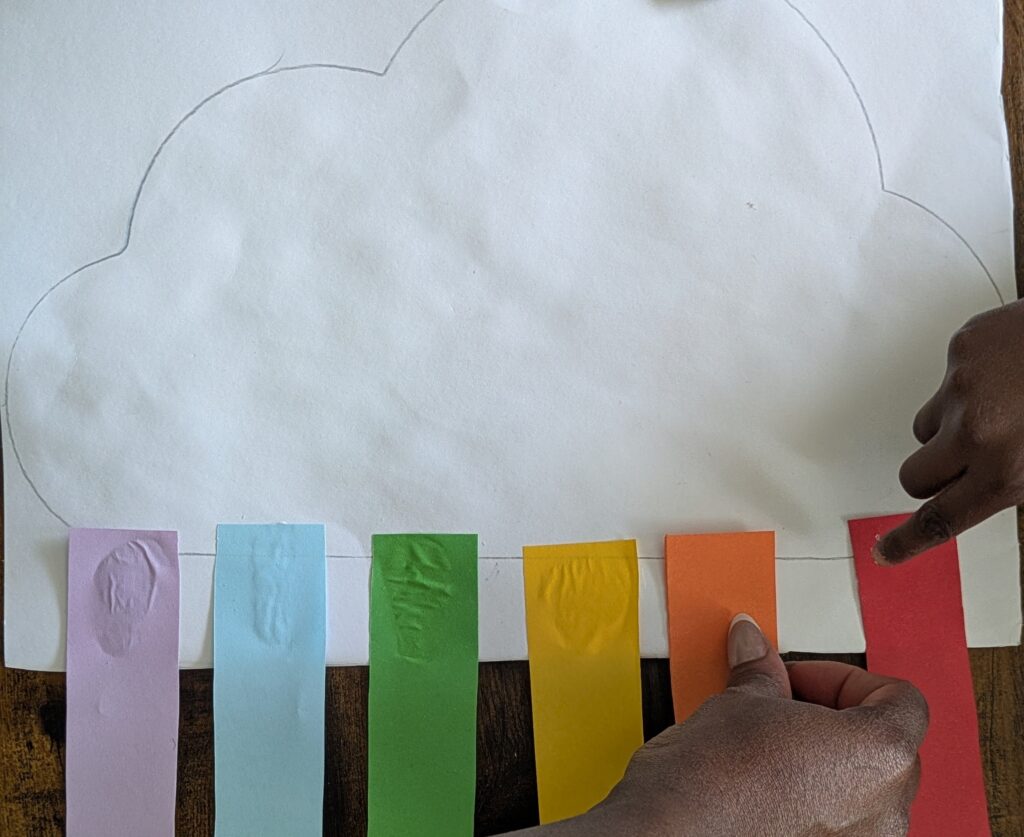
Finally, turn your cloud over and apply glue along the bottom edge. Attach your rainbow-coloured construction paper strips, arranging them in rainbow order. Let everything dry before displaying.
Get my free Printable Template!
Looking for more rainbow crafts using crepe paper or paper plates? Subscribe to the newsletter for weekly craft ideas, exclusive printables, and creative projects delivered straight to your inbox!
Want to make prep even easier?
Download my free cloud face template
to print and cut, so your little ones can jump right into the fun part, crafting!